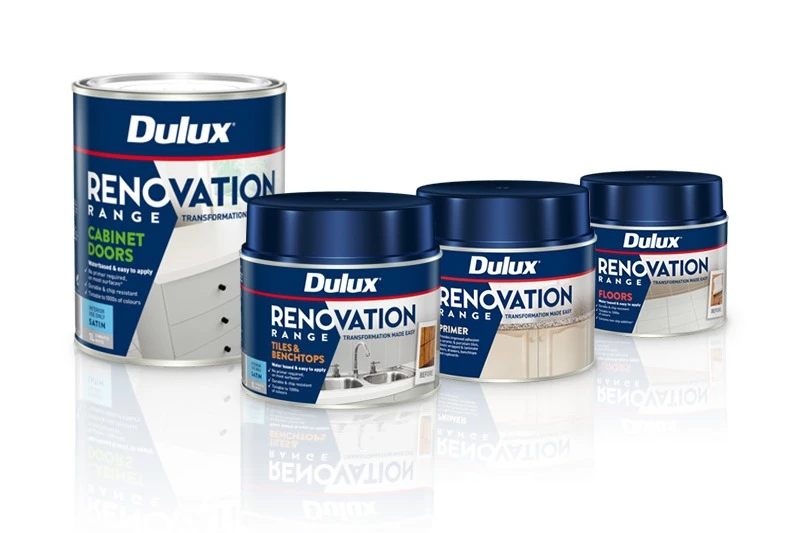
Paint your benchtops with Renovation Range
Watch a video to see how it's done
Discover how easy it is to paint kitchen, bathroom or laundry benchtops in your home with the Dulux Renovation Range Tiles & Benchtops.
How to get the perfect look
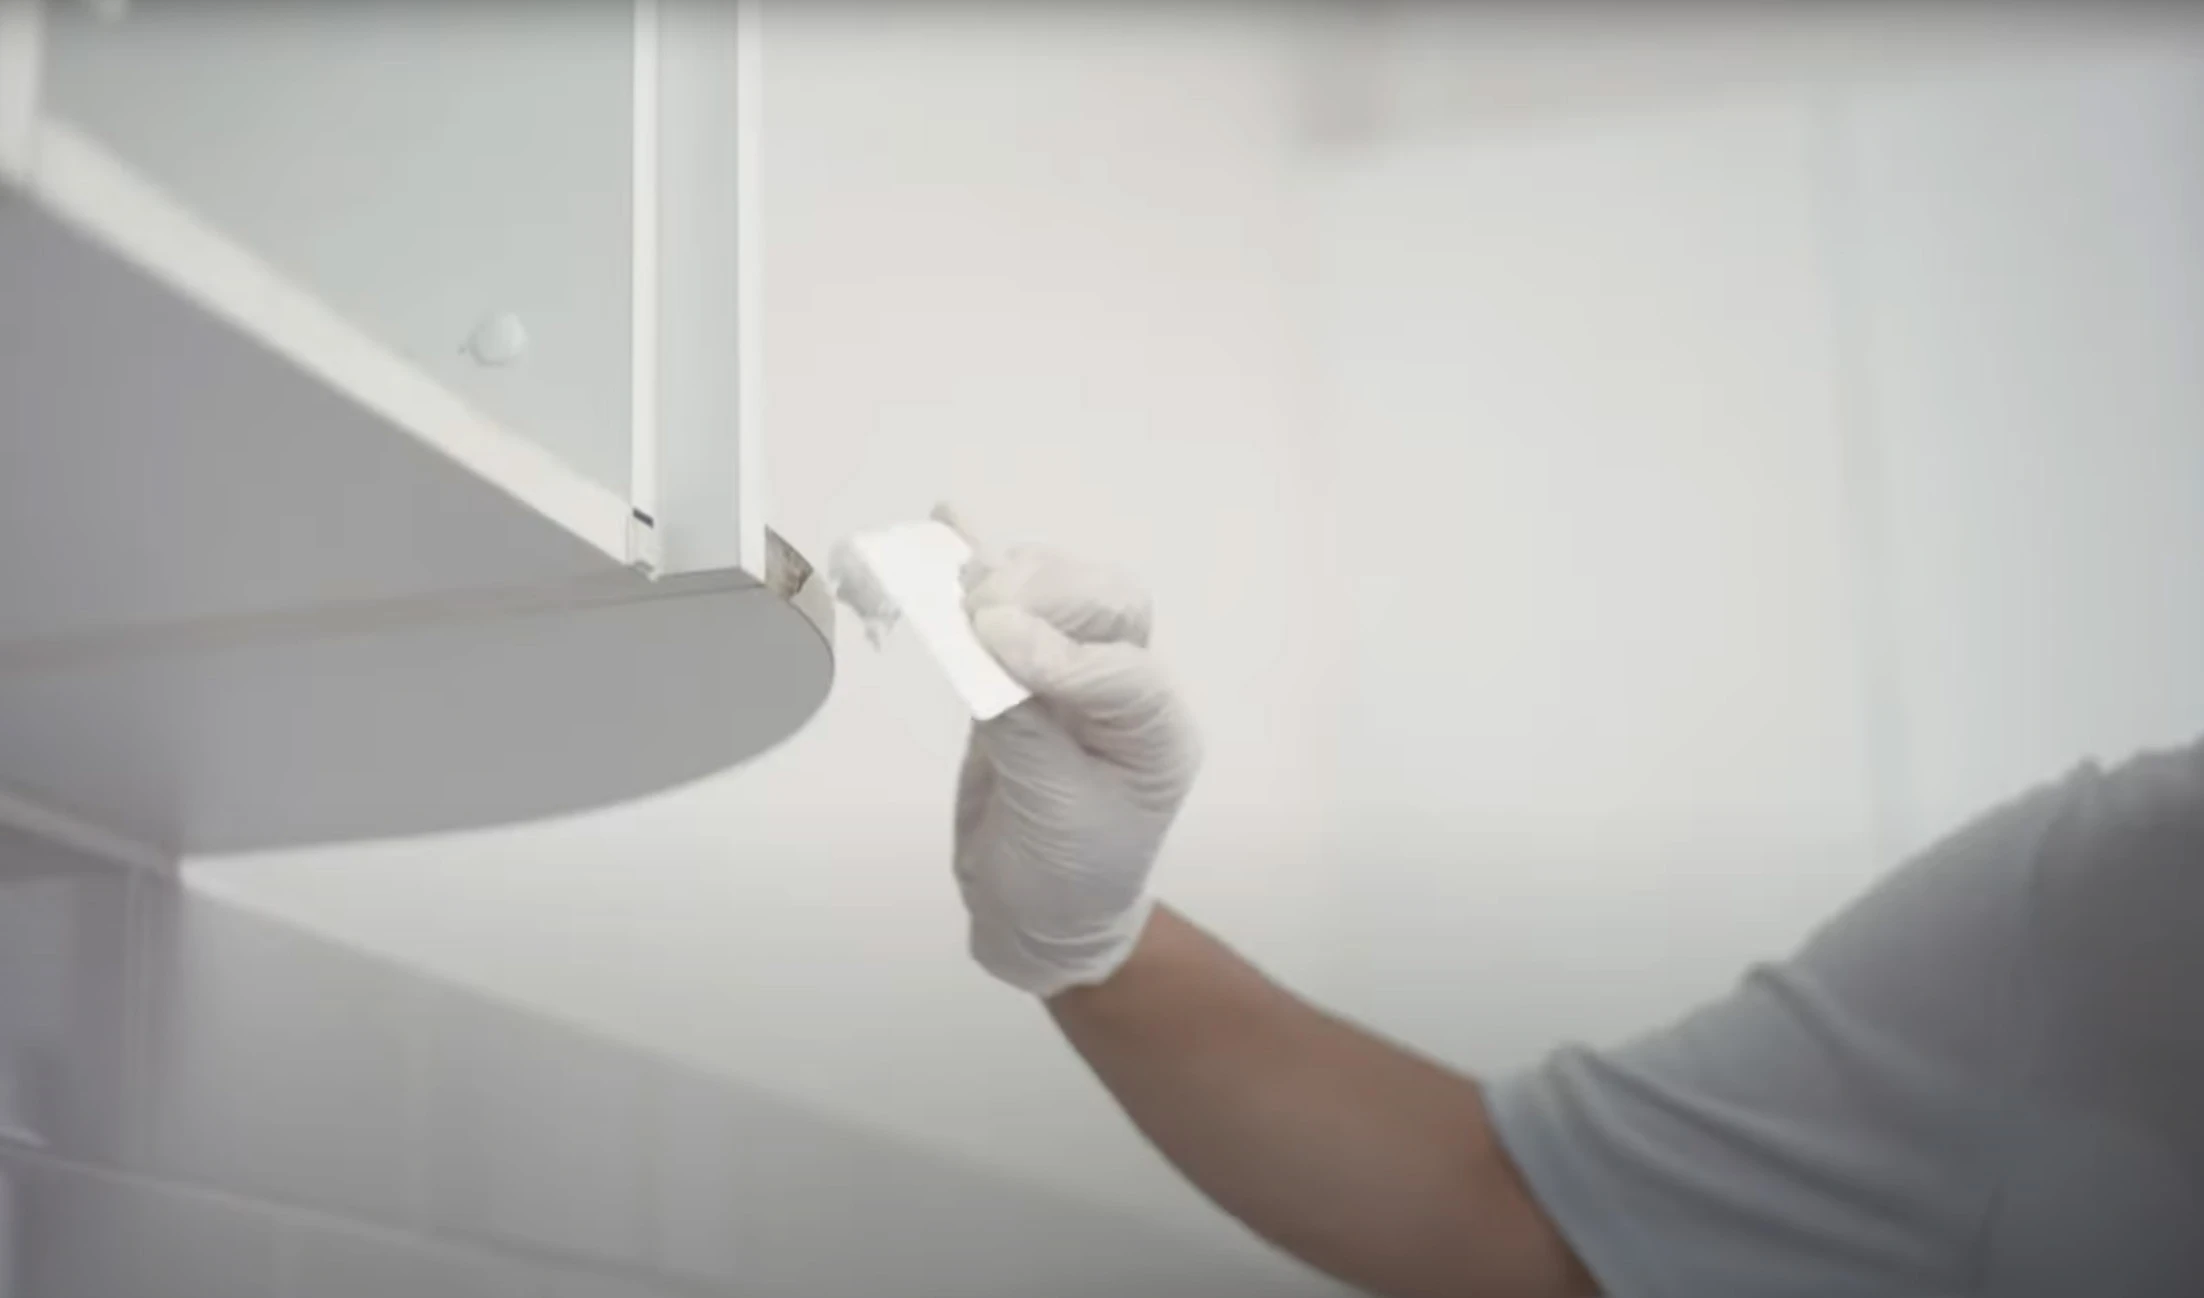
Prepare
Clean surfaces to avoid problems
You must remove all grease and dirt. Otherwise, the paint will peel or flake off.

Clean the area
Scrub the area with Selleys® Sugar Soap, and then rinse with clean water at least twice.
Use a plastic scouring pad on extremely dirty surfaces, and avoid using abrasive cleaning detergents.


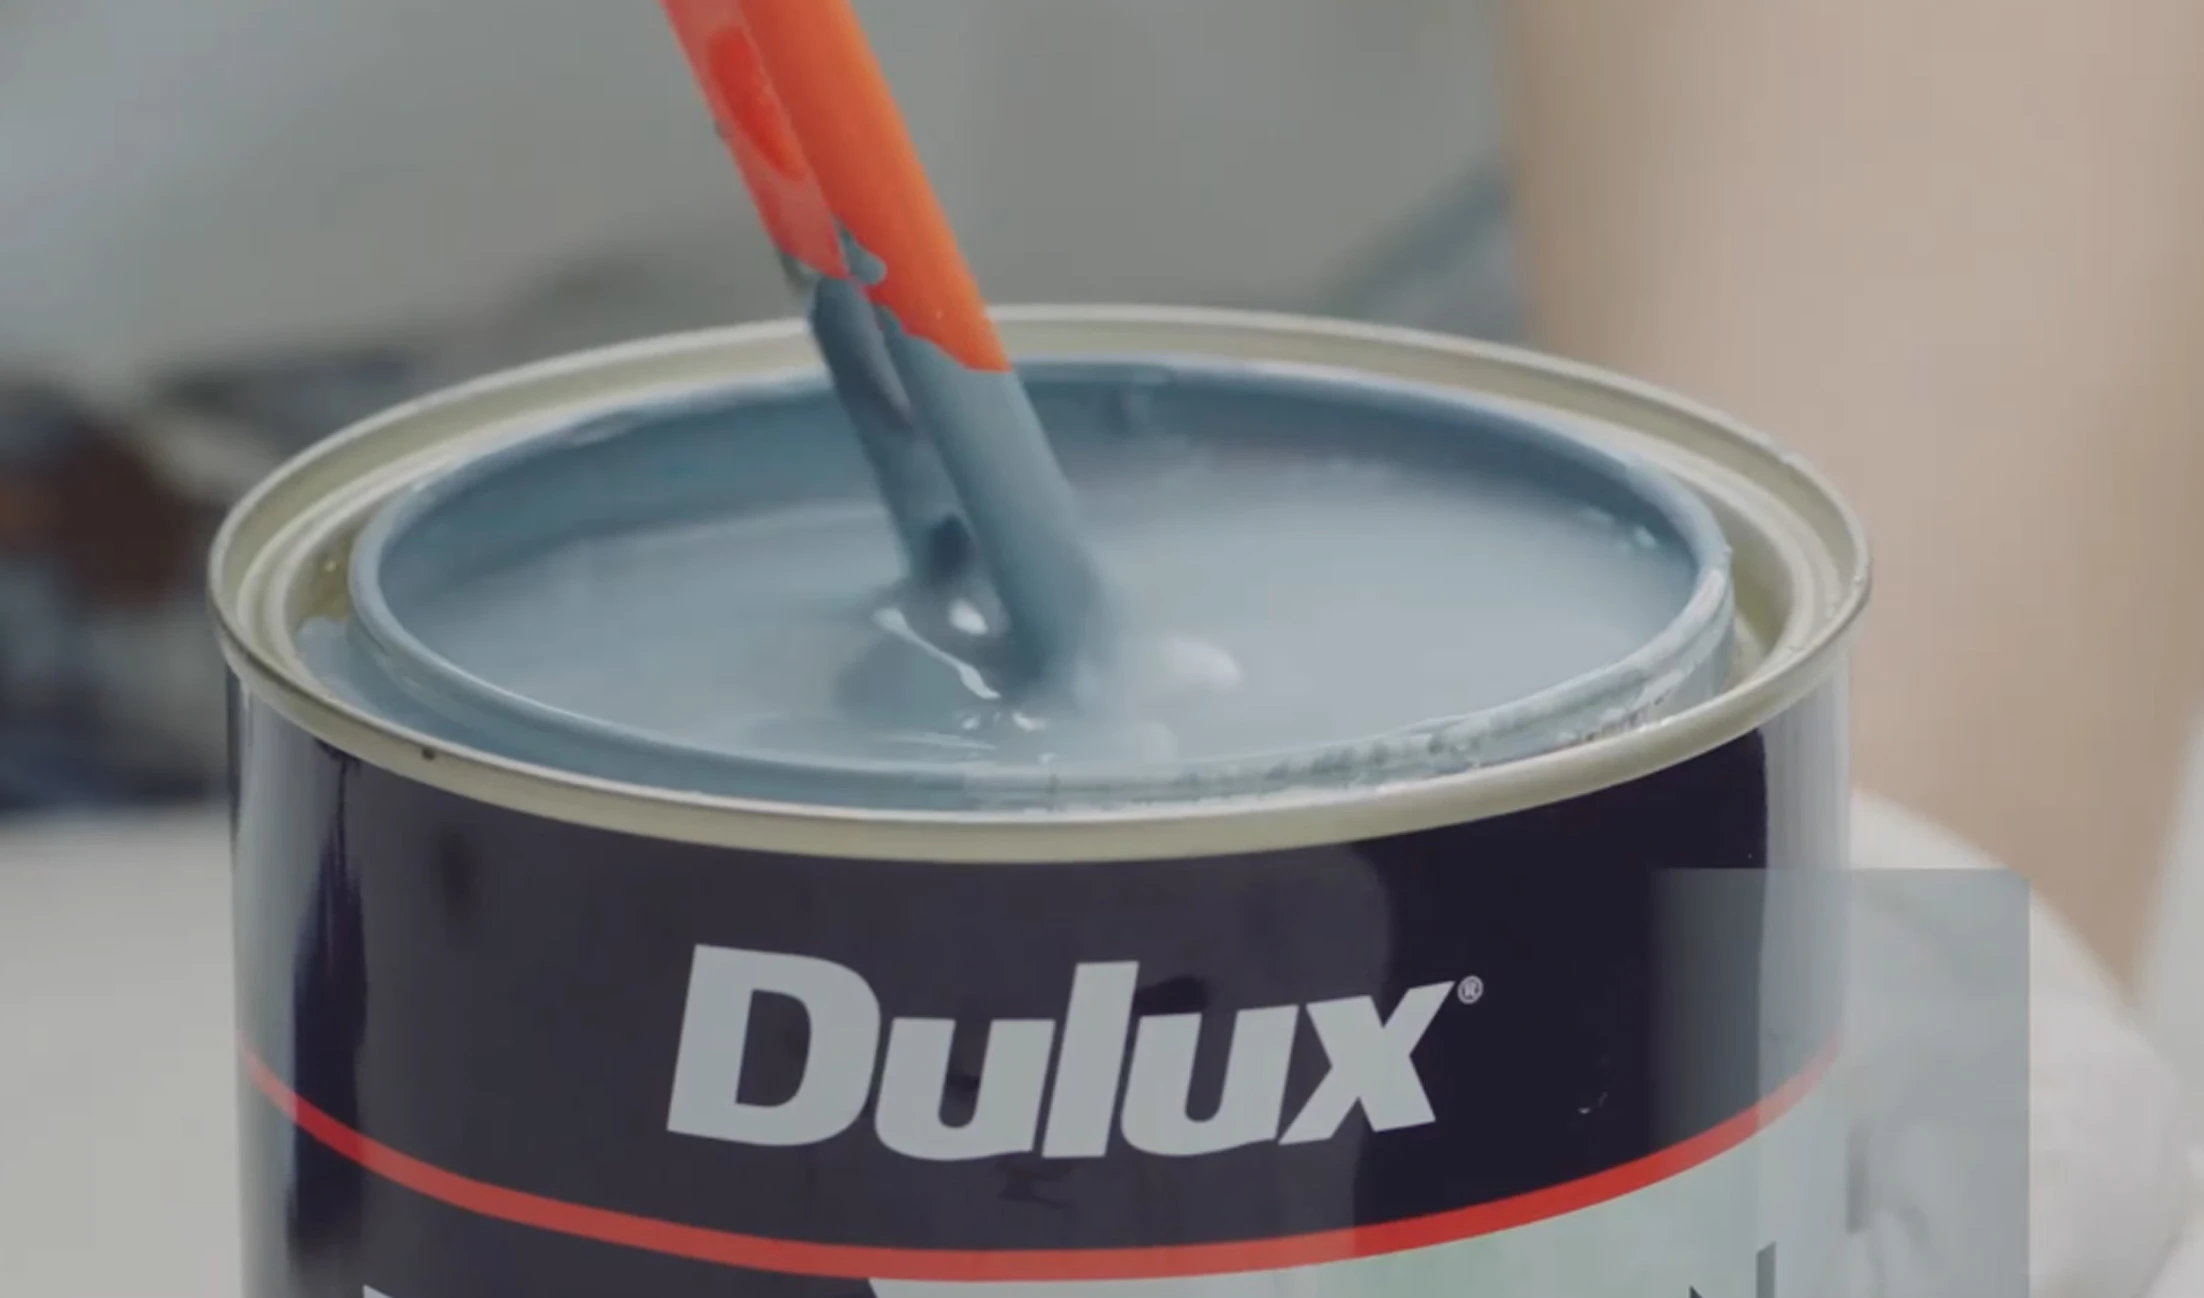
Mix
Get the best results
For the best results, make sure to thoroughly mix the additive into the paint before beginning the application process.
Once mixed, the primer is suitable for use for up to 3 days and the topcoat for 10 days.

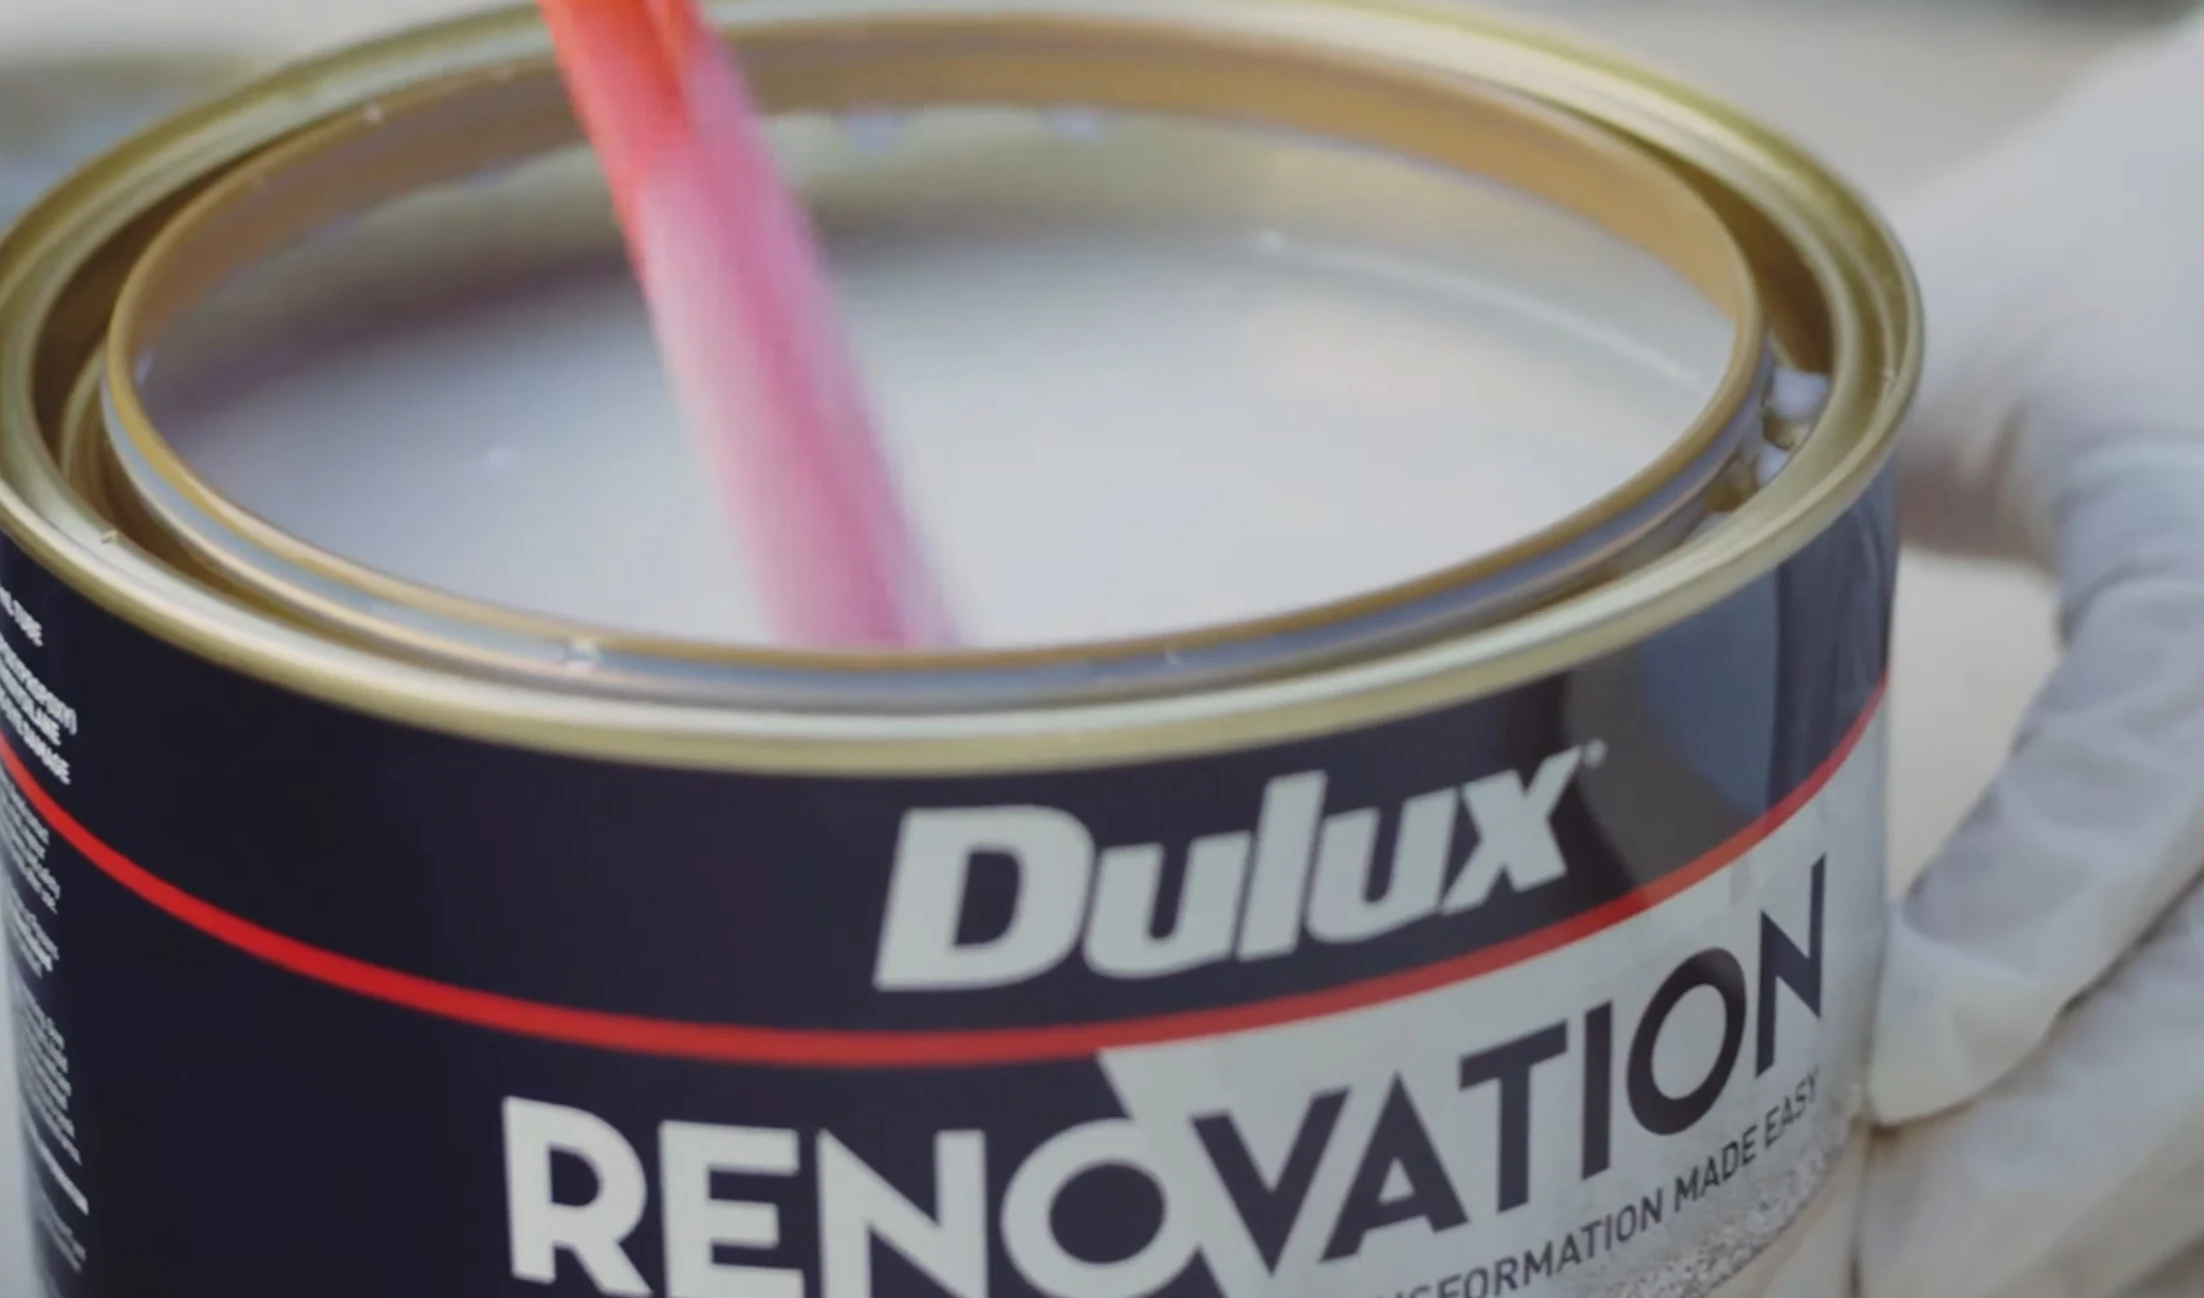
Add the additive
Under the blue lid of the primer paint can, you will find an additive packet.
Pour the contents of the packet into the paint.
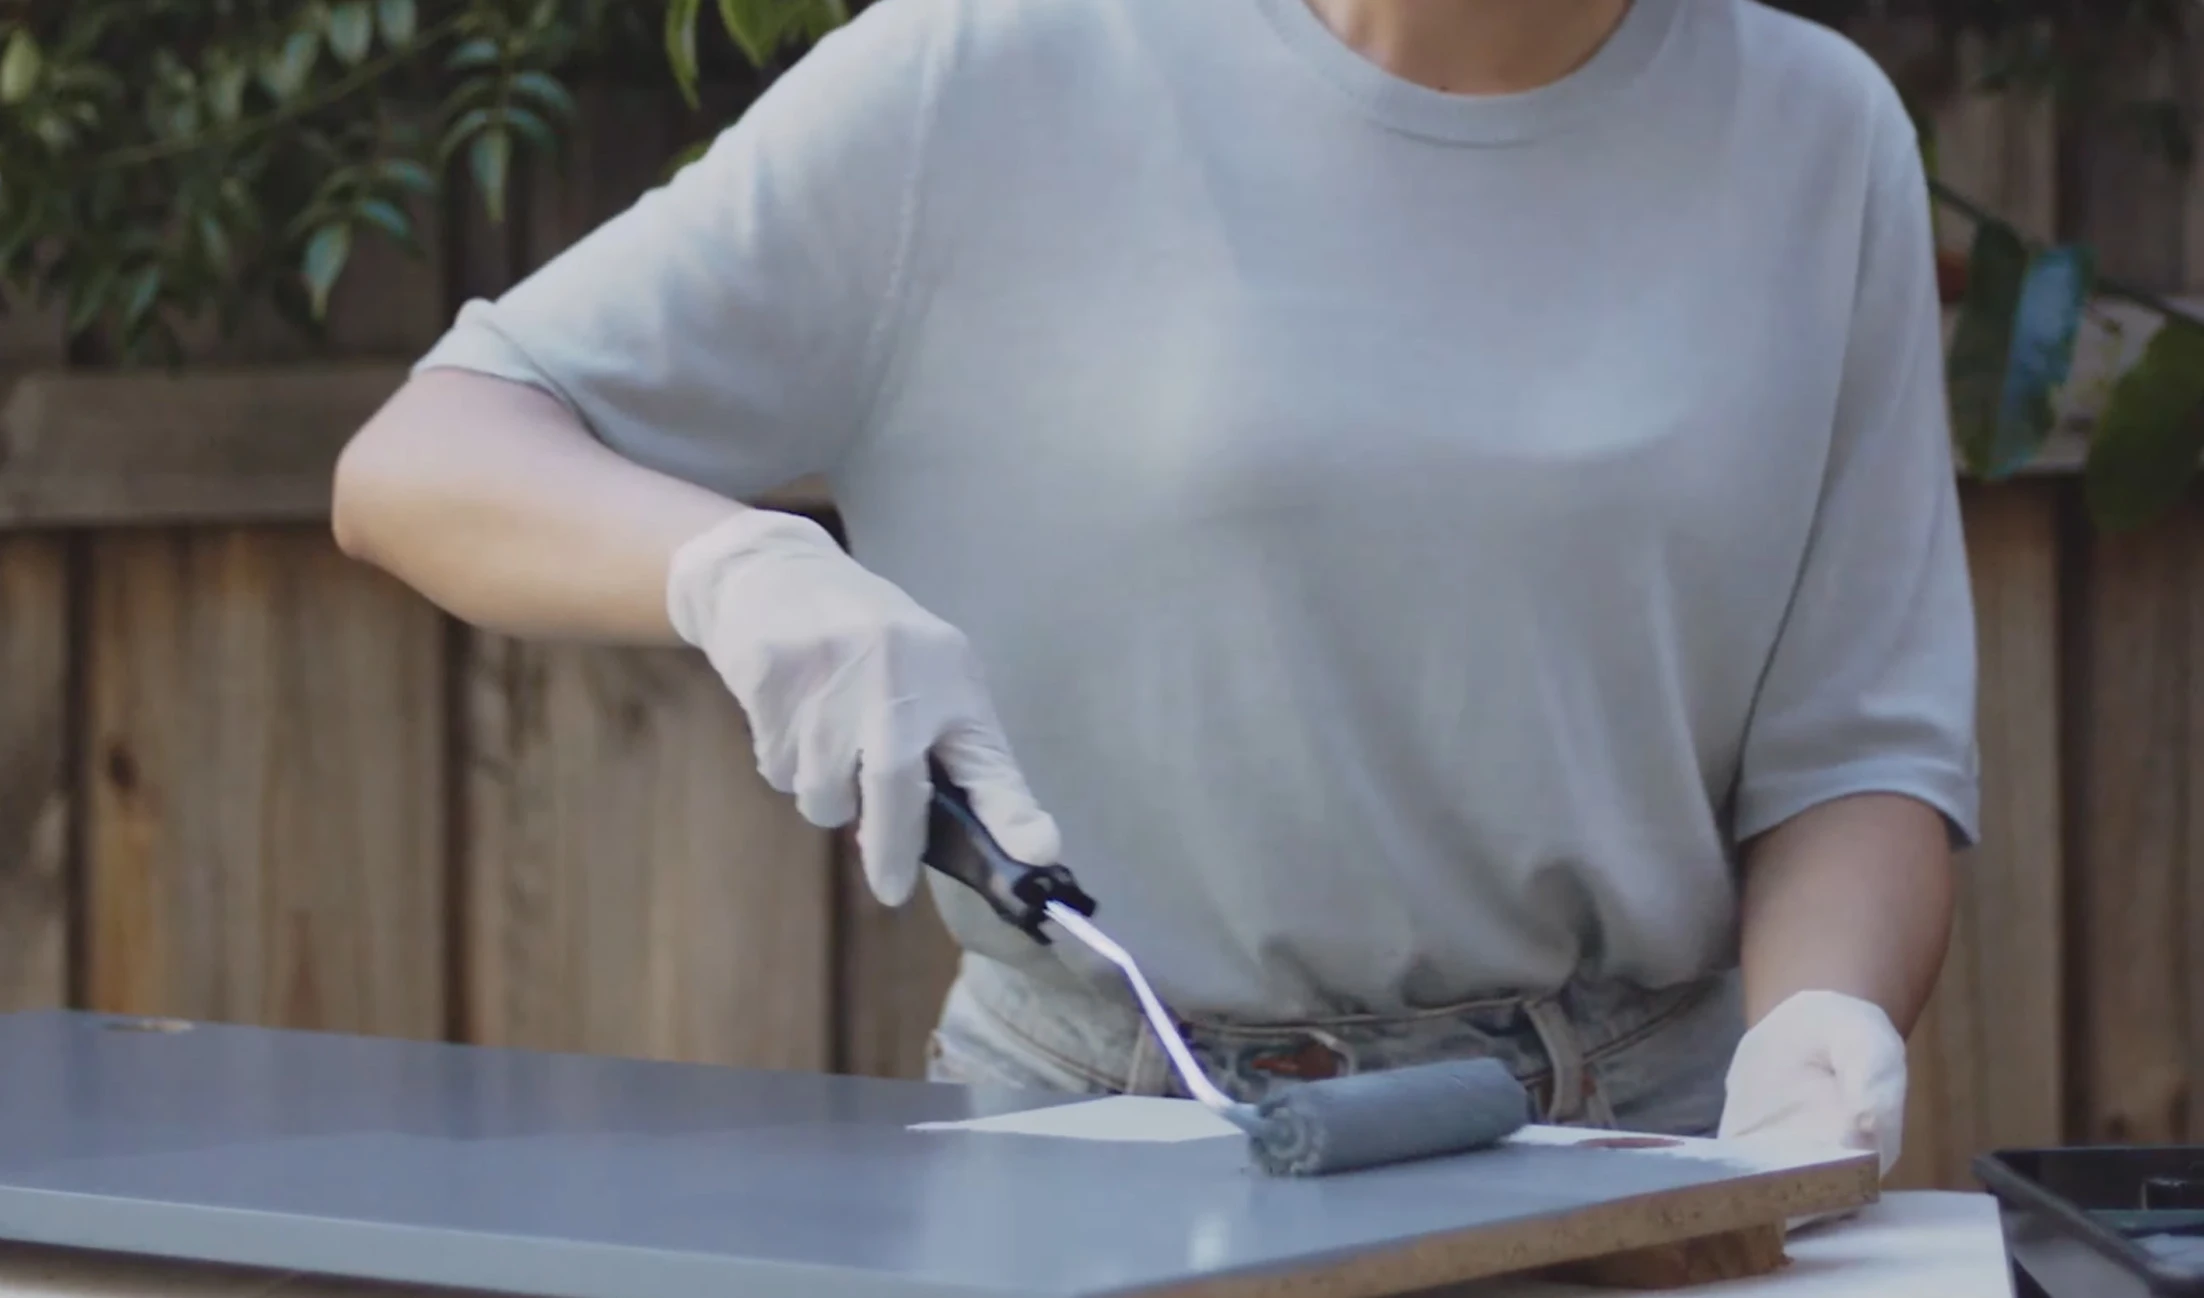
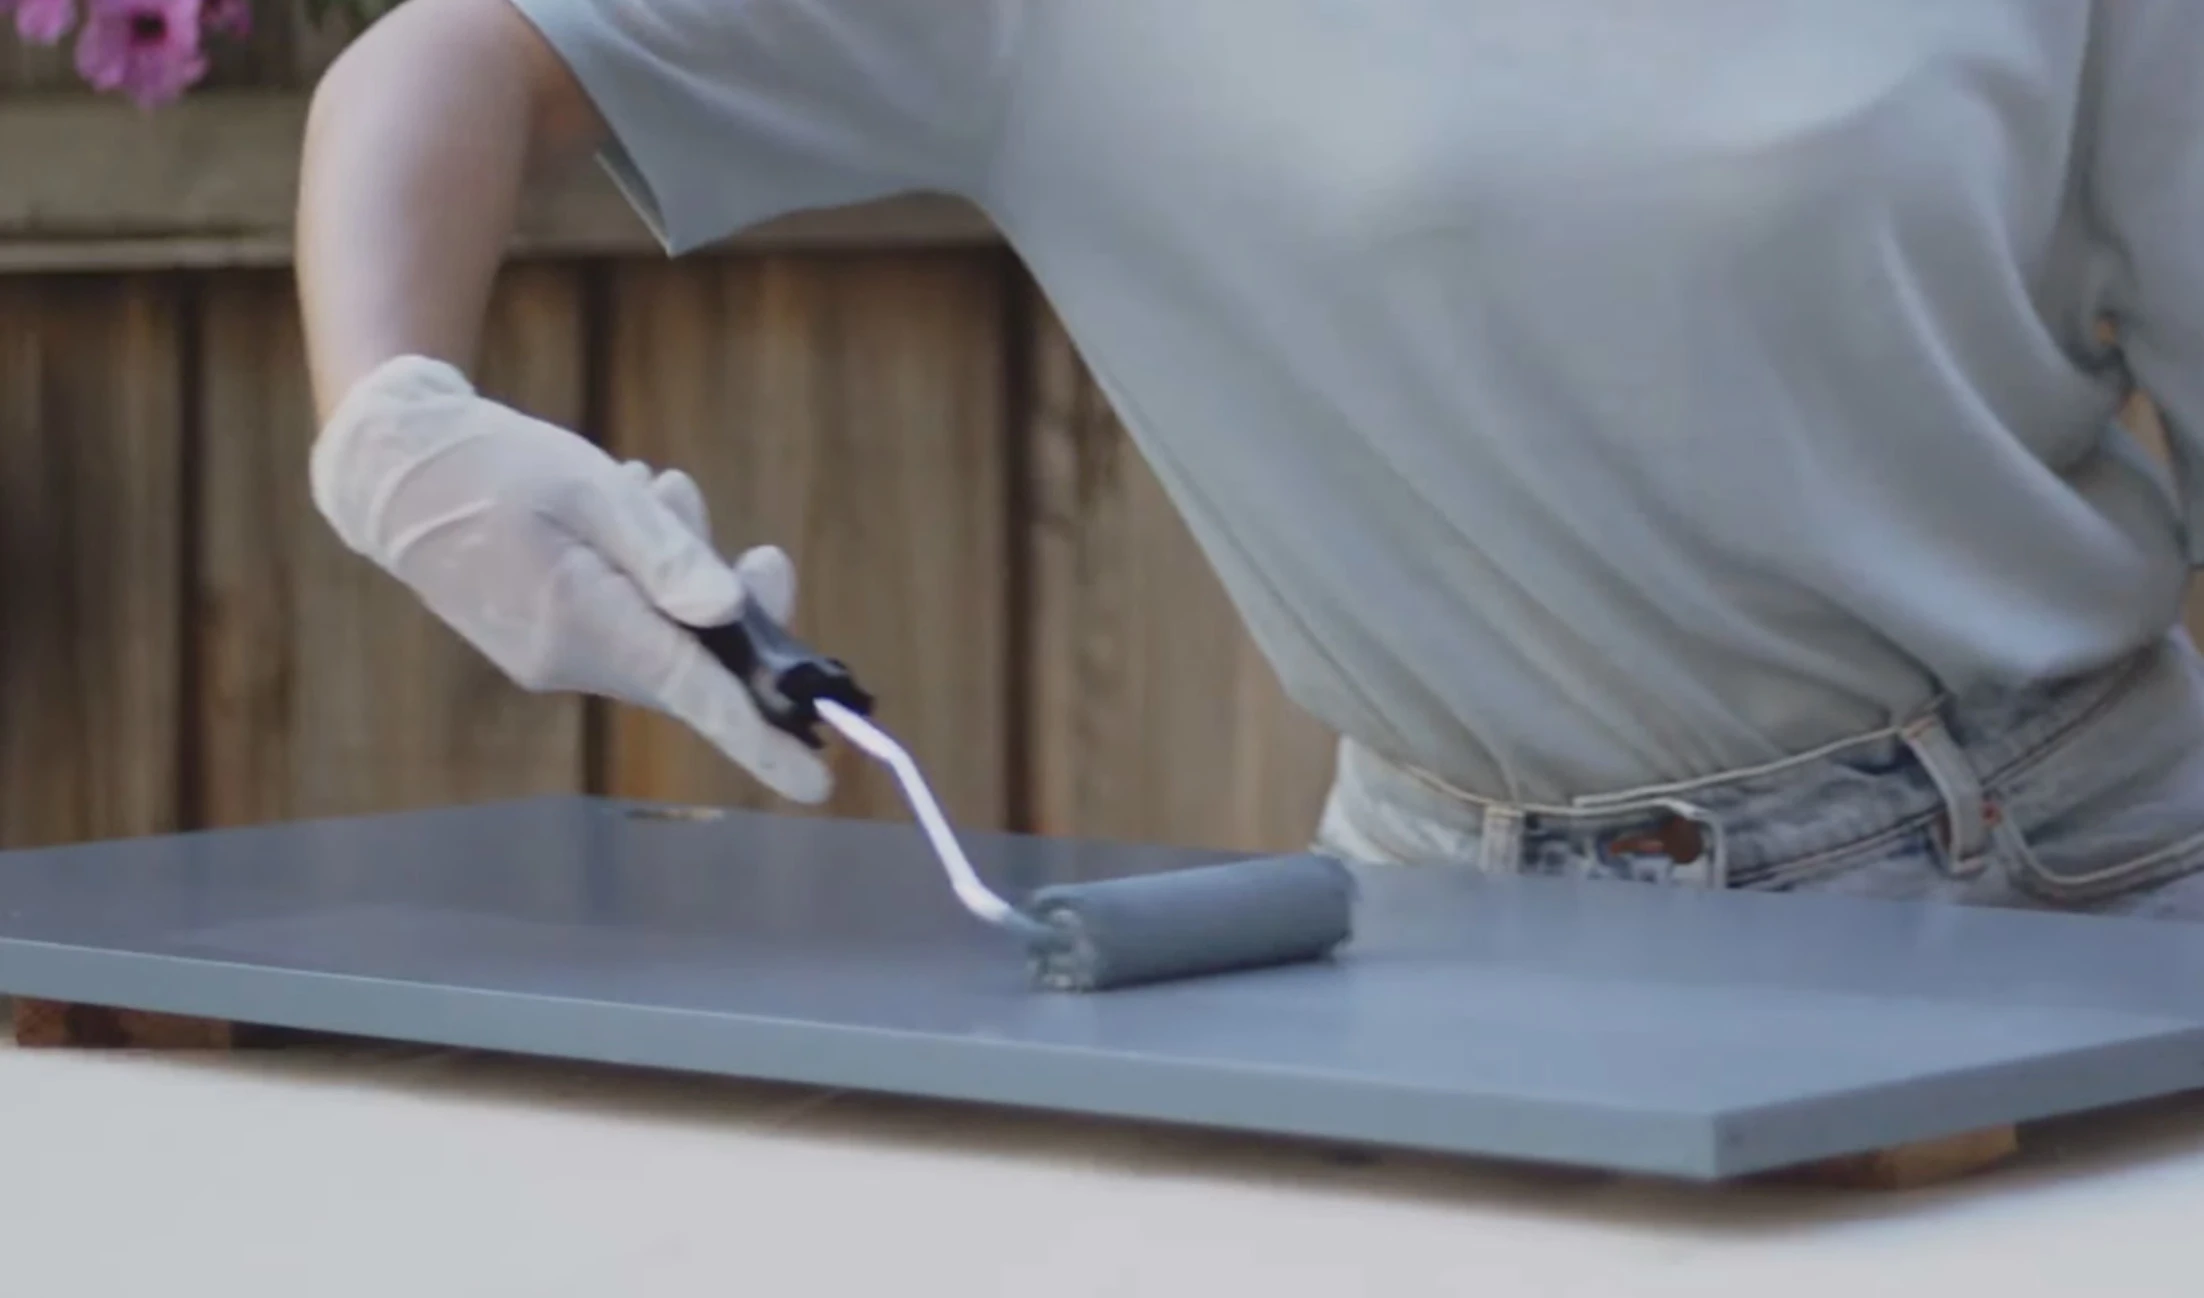
Apply
Carefully read the instructions
For full instructions, refer to the back of the paint cans.
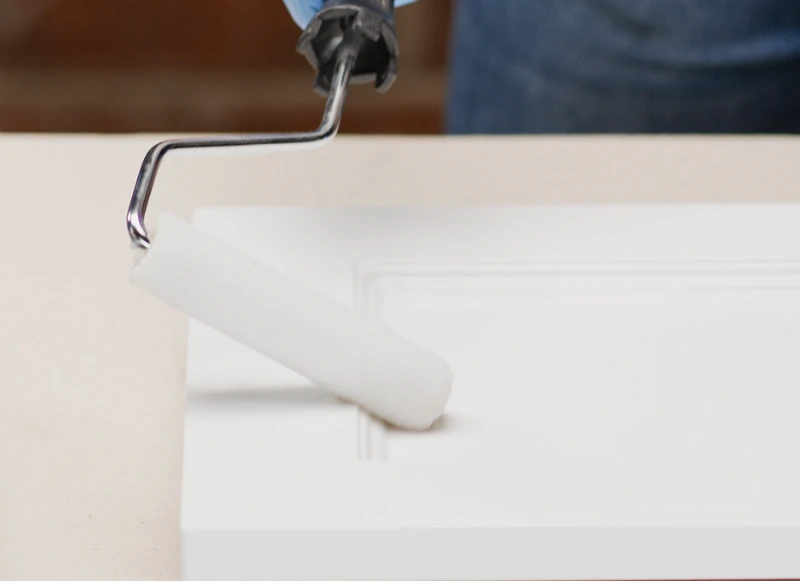
Cut in
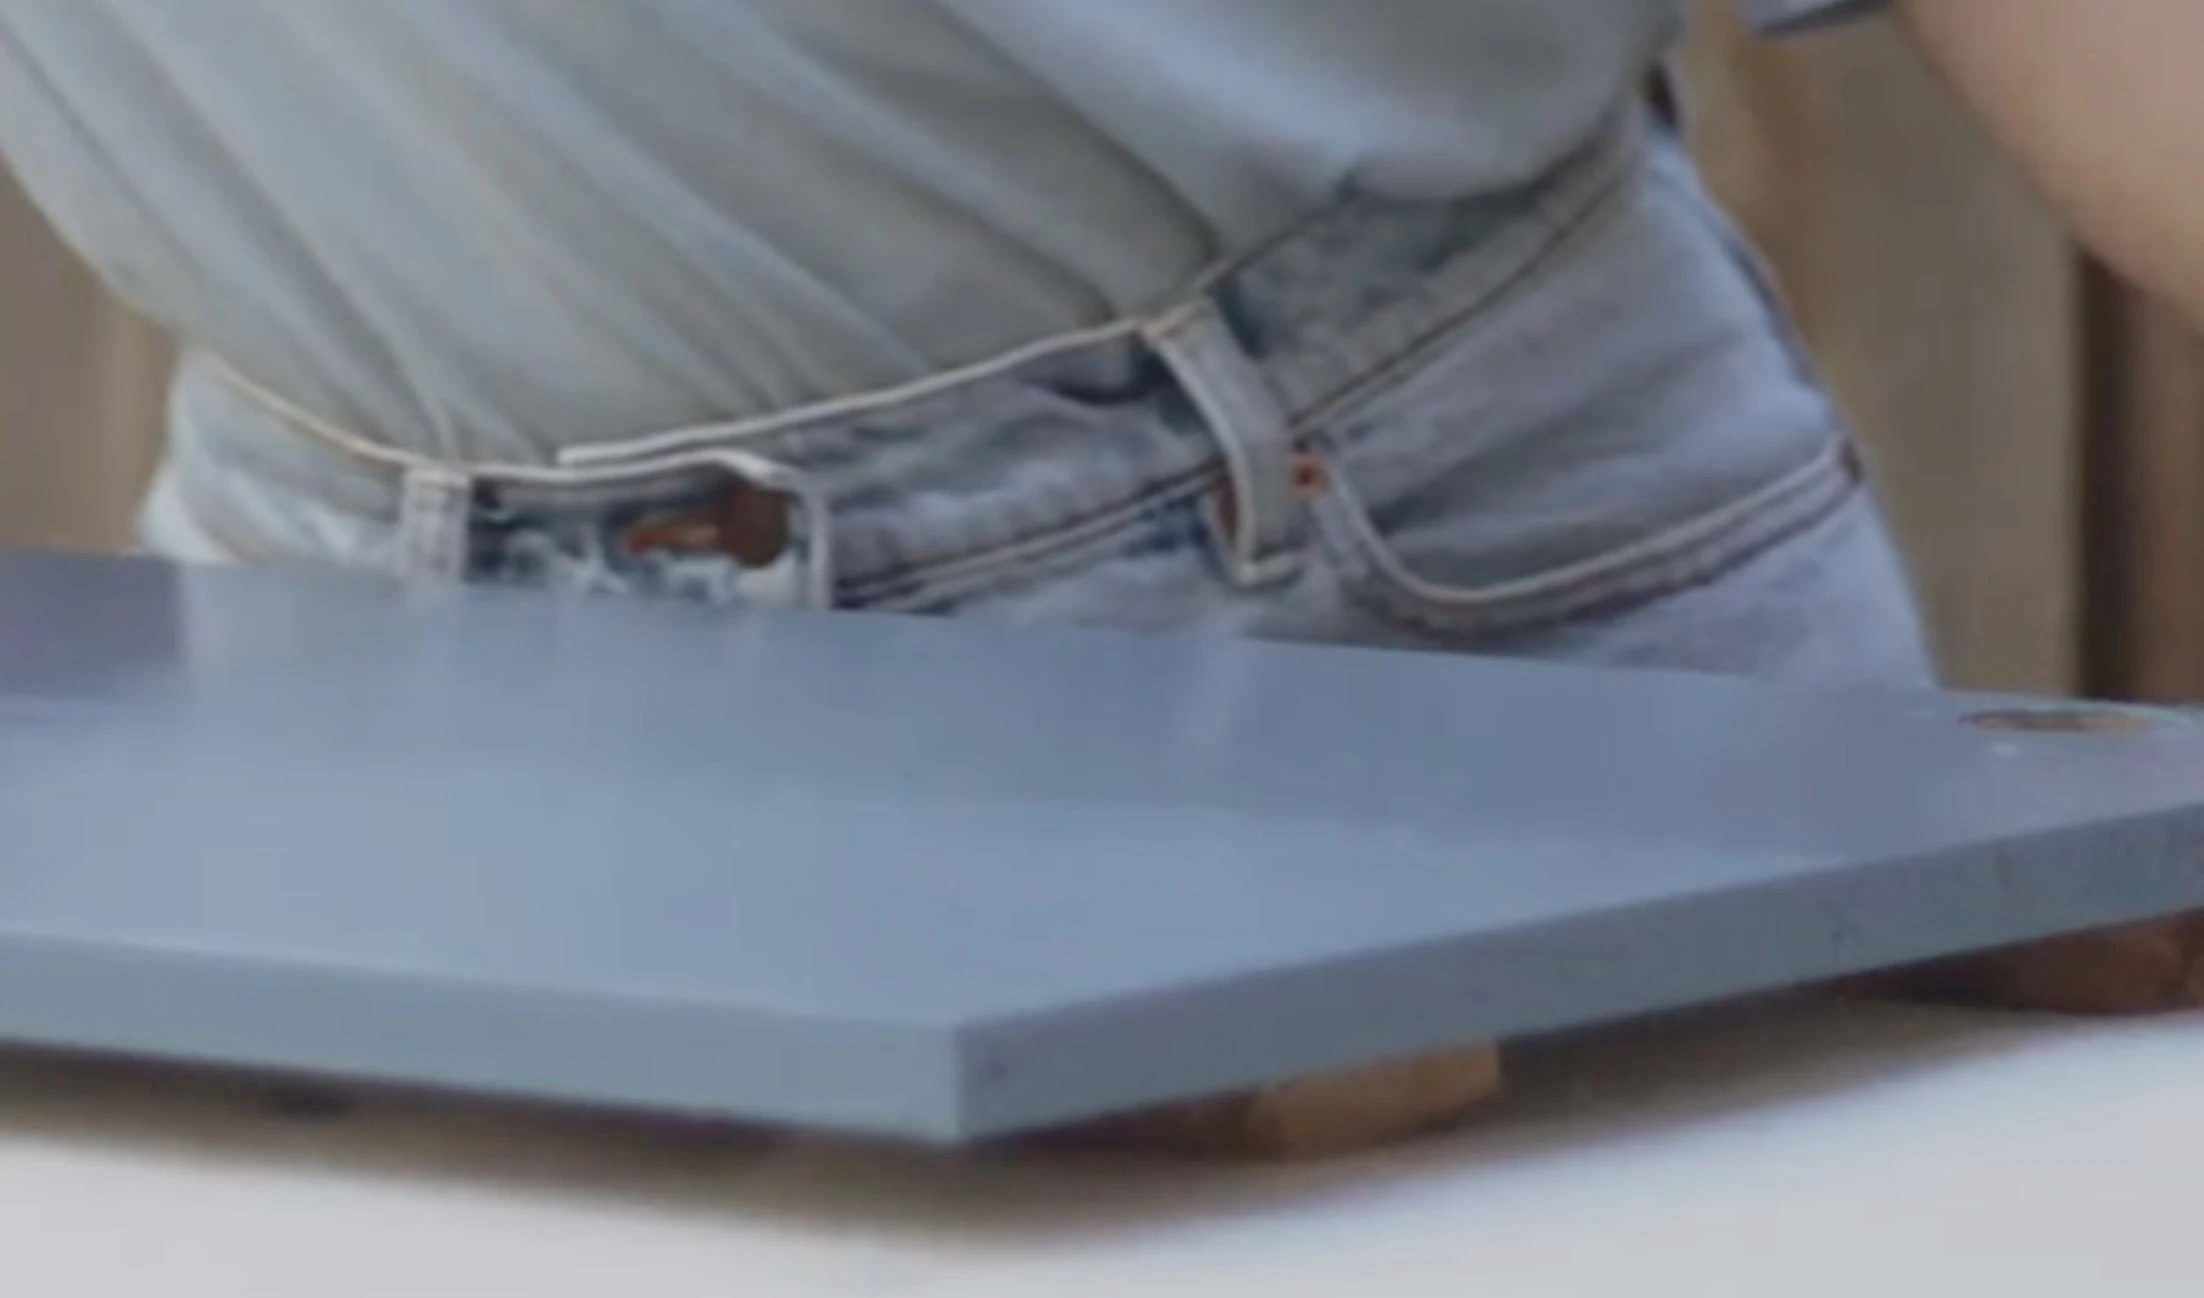
Starting with Dulux Renovation Range Primer, cut in using a 38 to 50 mm high-quality angled sash cutter brush.
What you'll need to get started
Colour and paint


Select your preferred finish
Dulux Renovation Range Tiles & Benchtops and Clear Coats are available in both satin and gloss finishes.
Tools and accessories
4 mm Nap, 100 mm wide microfibre roller
Plastic scouring pad
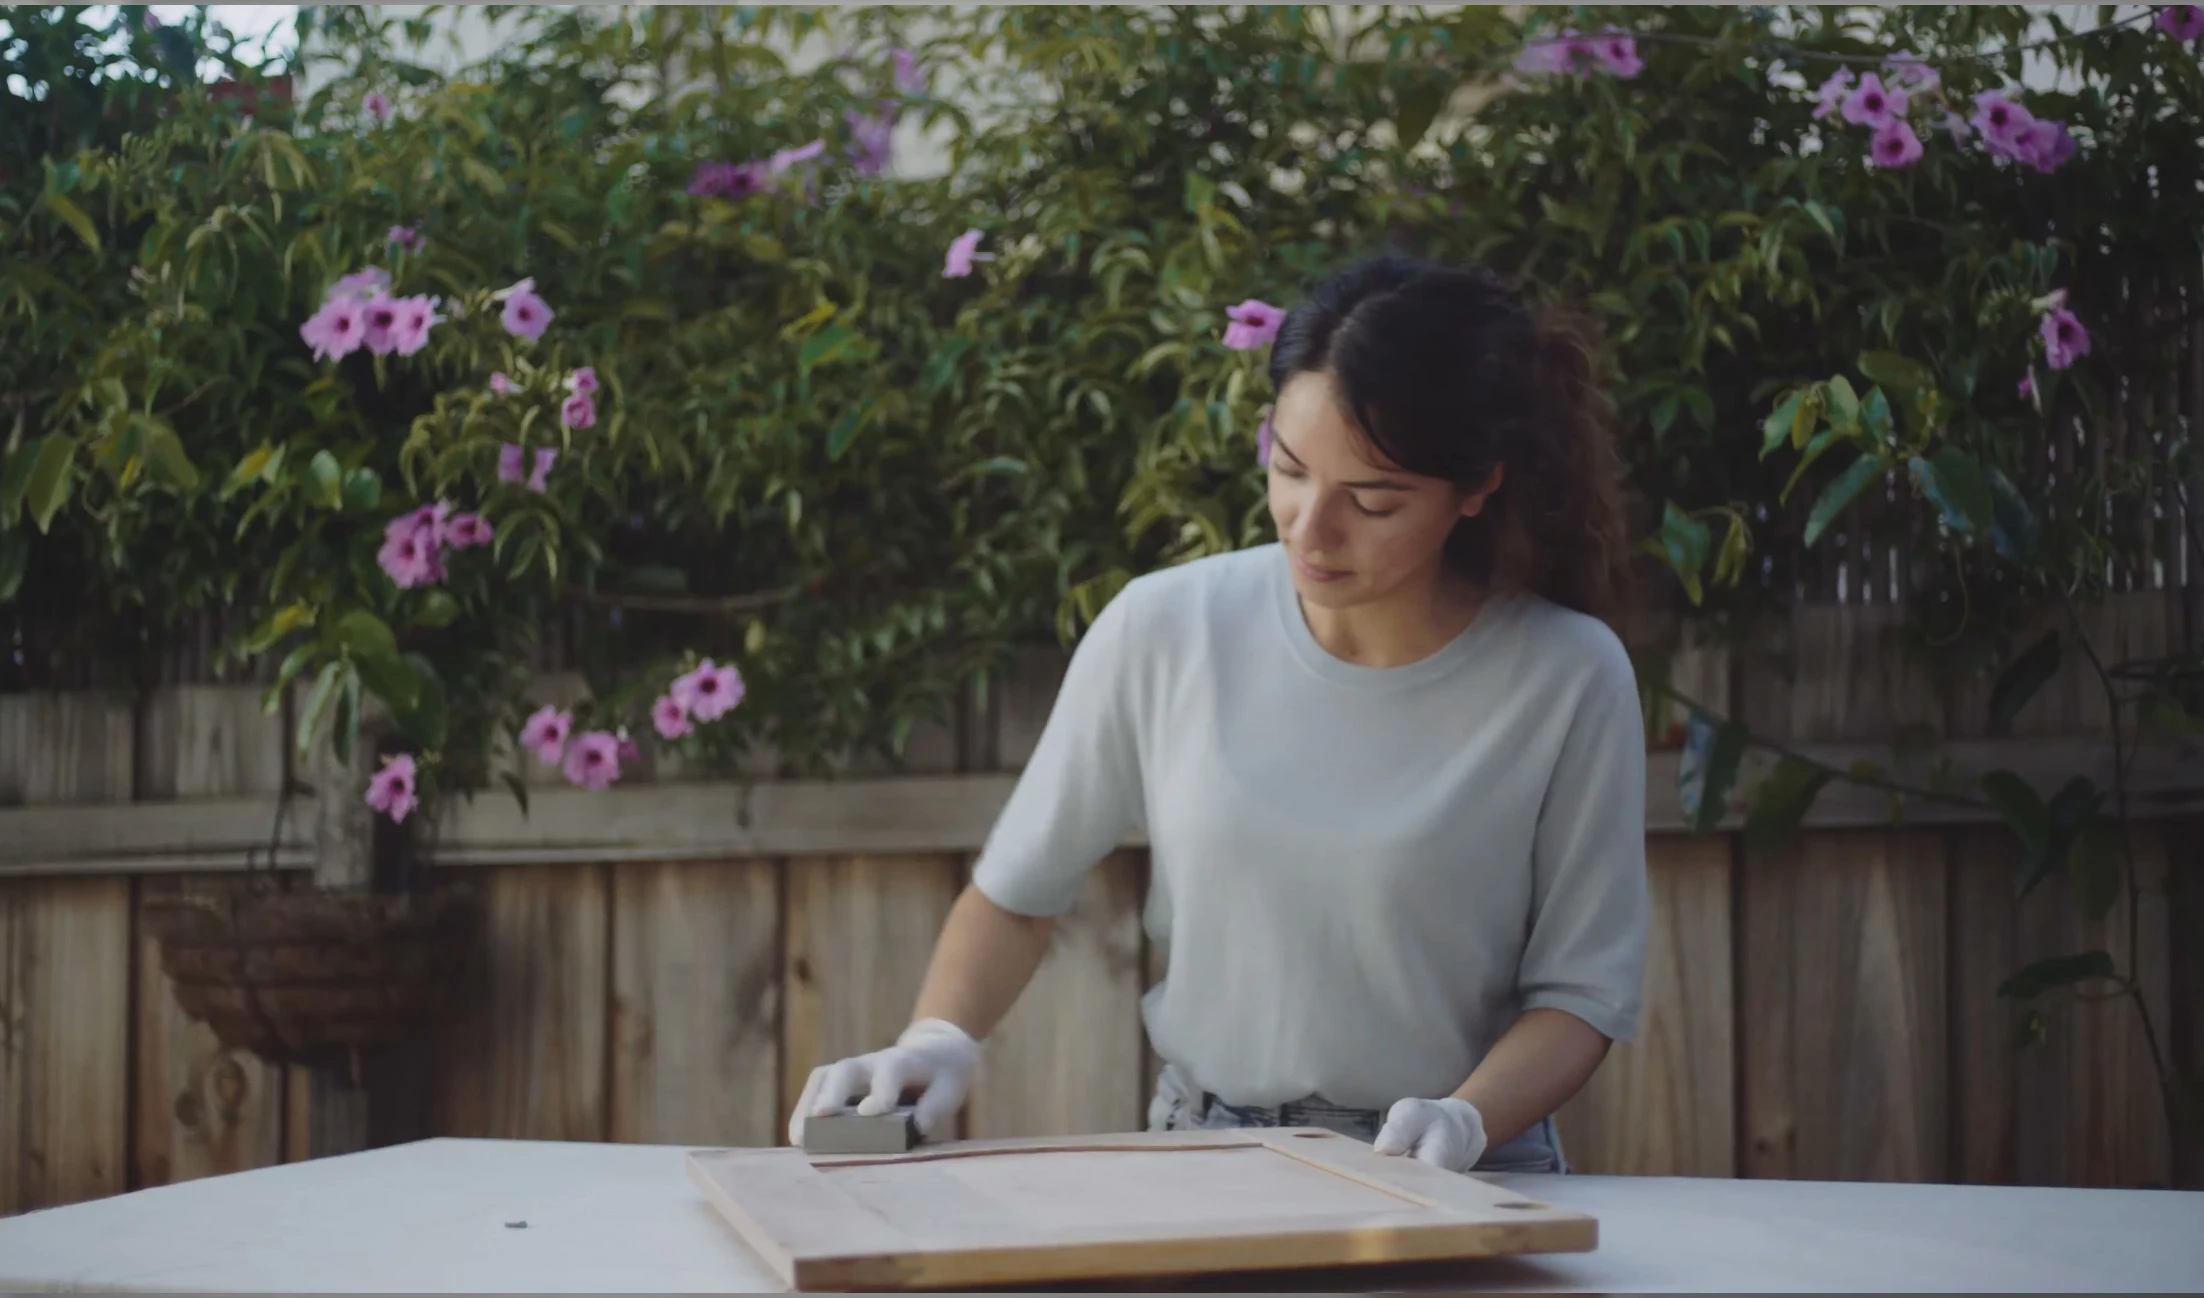
P400 sandpaper
Flat paddle stirrer
FAQs
Yes, provided that the area where Renovation Range is intended to be used on is covered and will not be subjected to direct rain and weather. The Renovation Range products are based on UV resistant and water-resistant resins. As such they are capable of resisting undercover outside exposure.
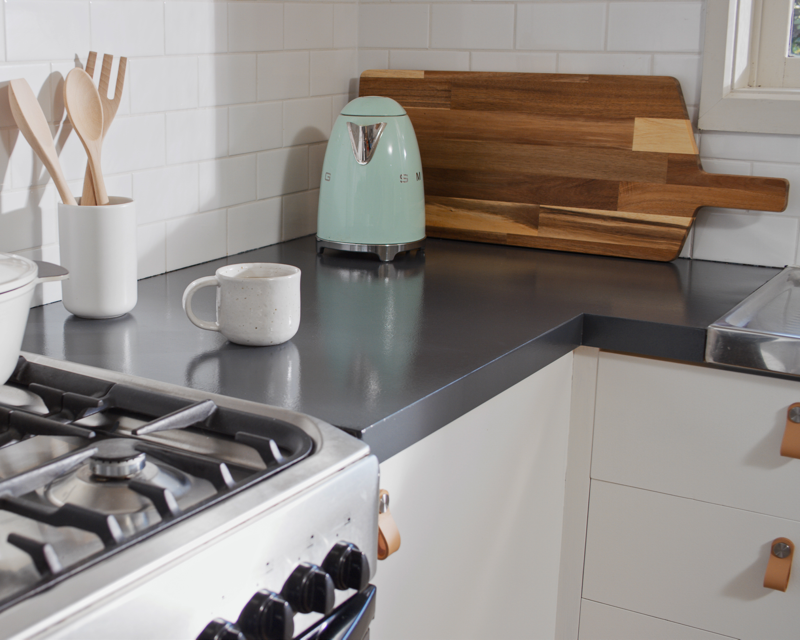
Typically, benchtops in the kitchens, bathrooms and laundries we expect Renovation Range to be used on benchtops made from laminate. However, if they are made from tiles or natural stone – other than marble – they can be coated.
The Renovation Range products are NOT scratch proof but have good wear character that develops over a period of days.
It is important not to use knives or other instruments to cut, smash or otherwise impact the surface during preparation of food. These activities should always be done on a separate cutting board or similar.
Where possible, “lift and locate” heavy items on benchtops coated with Renovation Range to avoid pushing them across the surface and potentially causing a scratch.
Mask stoves, dishwashers and other appliances with smooth painter’s tape. Be diligent about pressing in the edge to ensure none of the coating will bleed through. Place drop cloths over surfaces not to be coated especially floors.
Dulux has prepared a number of “How To” videos and placed themon Dulux Renovation Range | Dulux
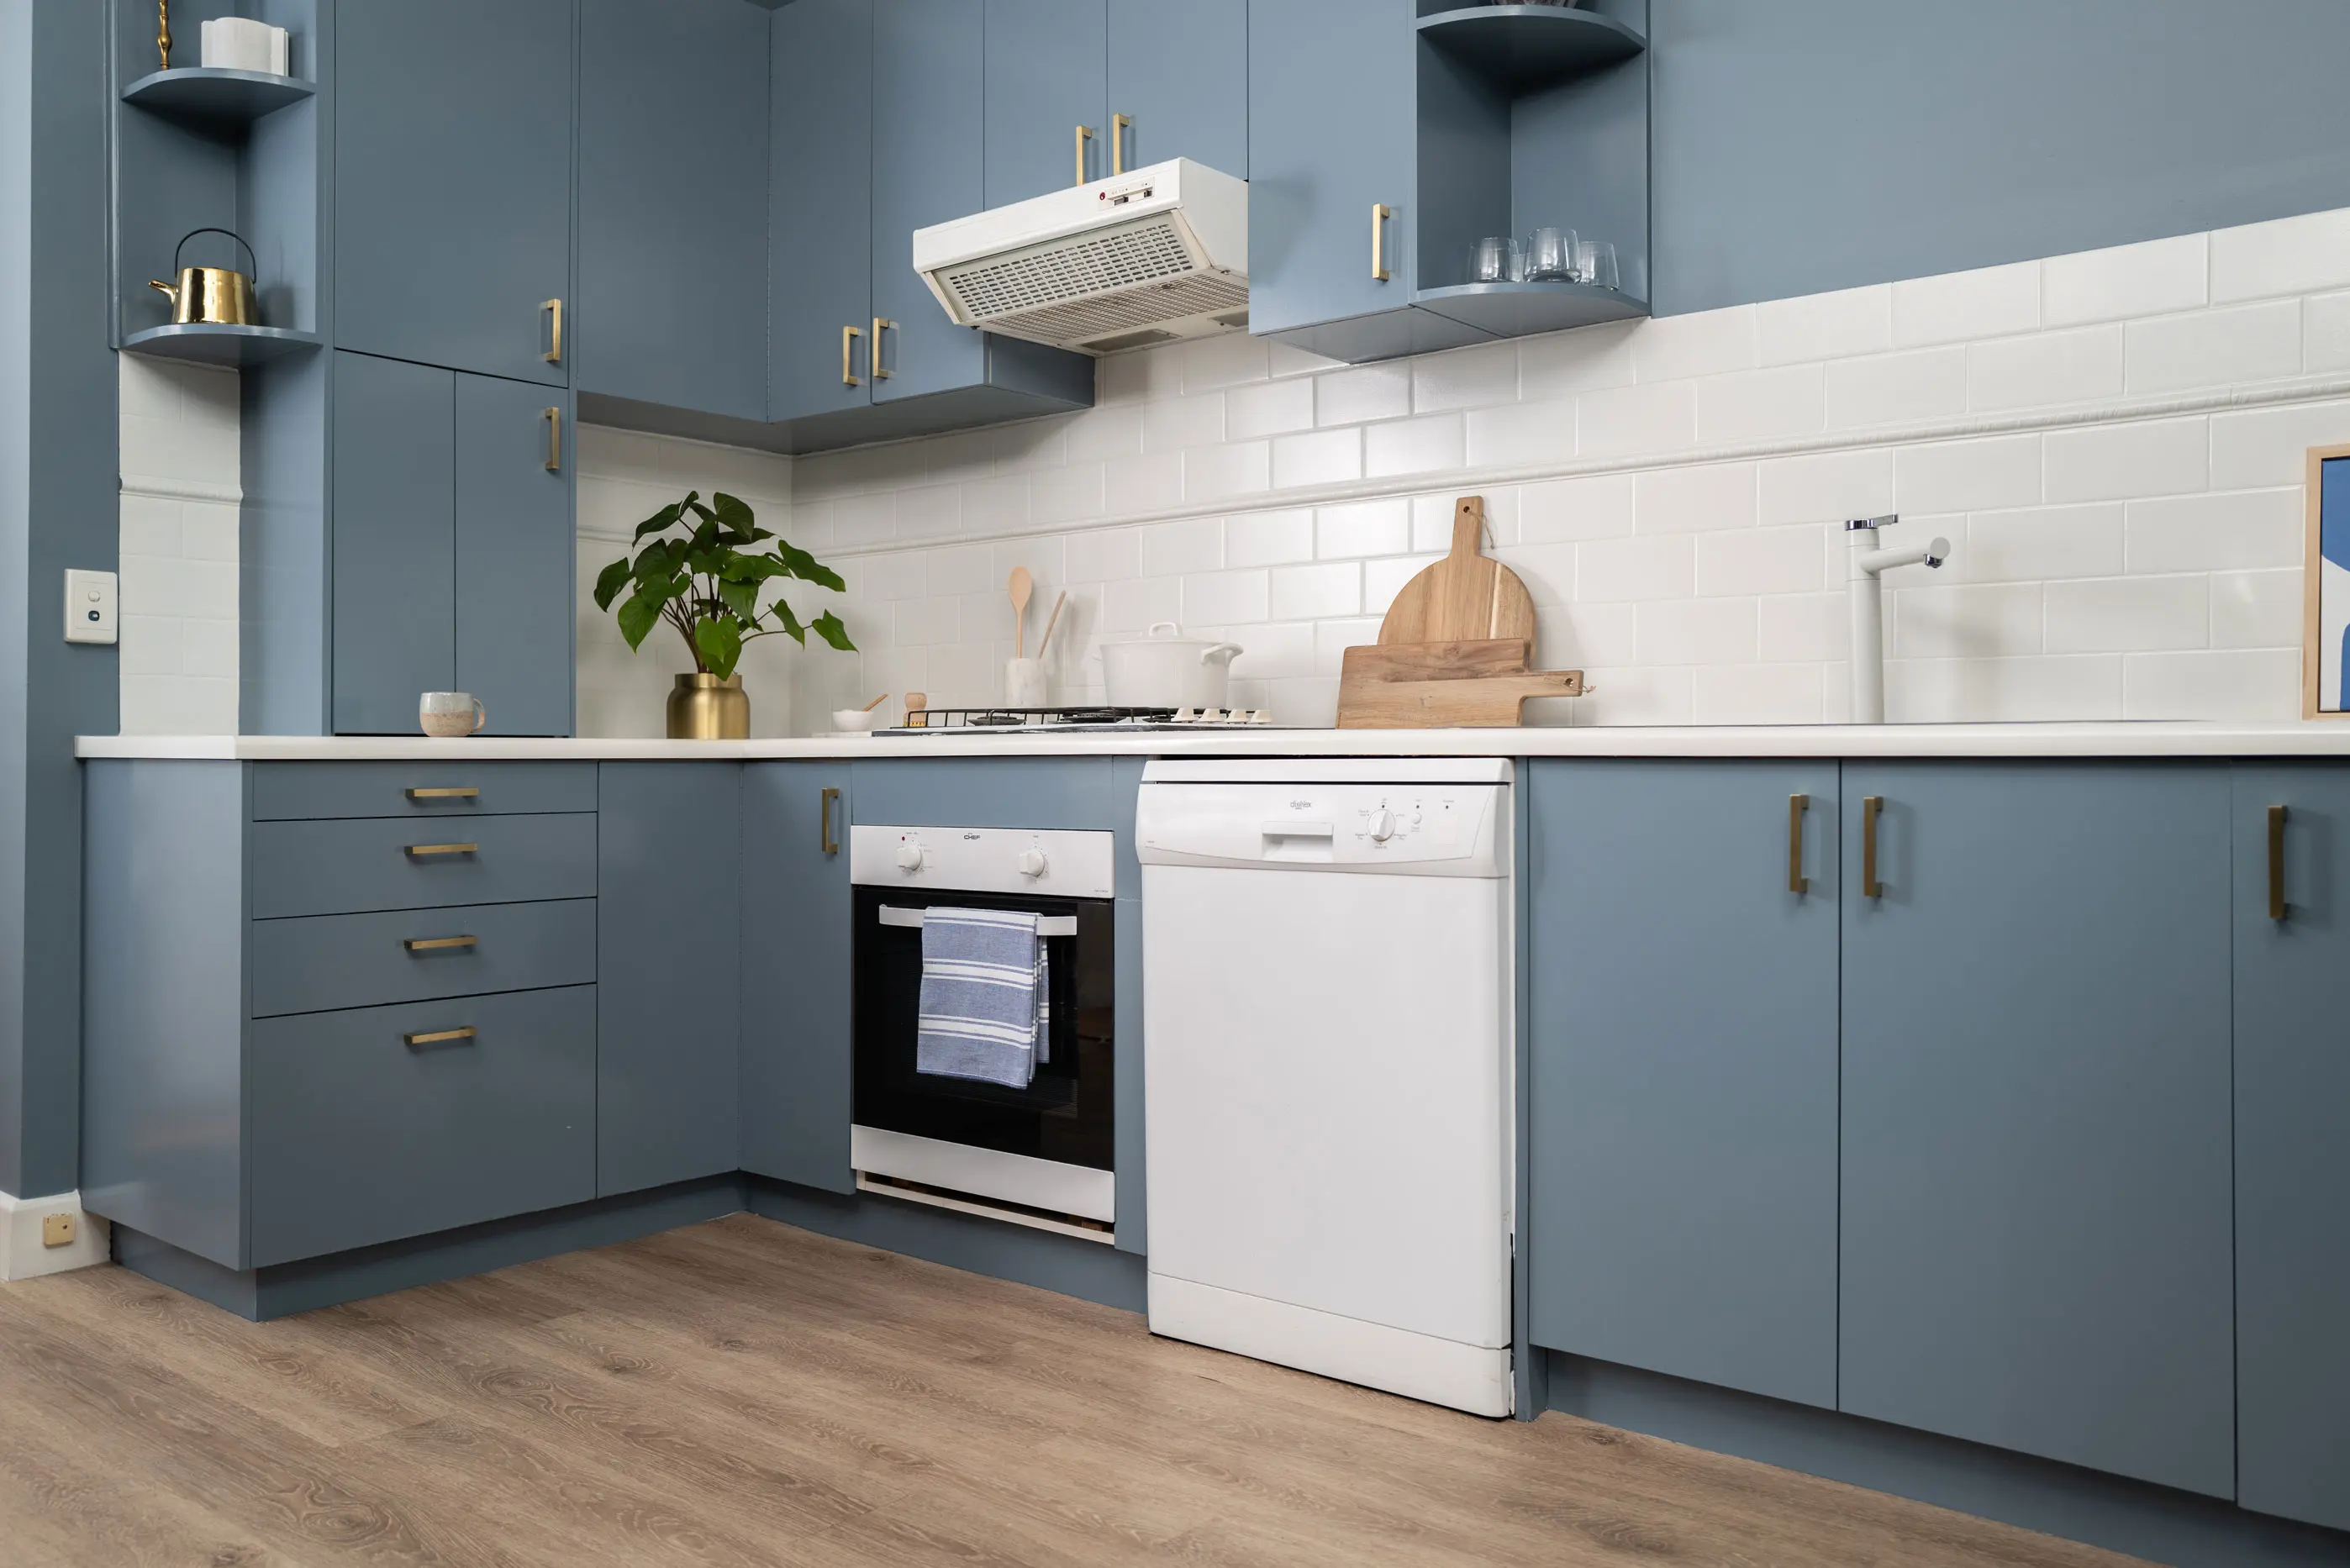
Dulux Colour Ambassador Evie Kemp's kitchen was very functional and - compared to the rest of her (colourful!) house very stark and white. She was able to update her kitchen to her own unique style and bring in warmth and brightness with her choice of fun colours.
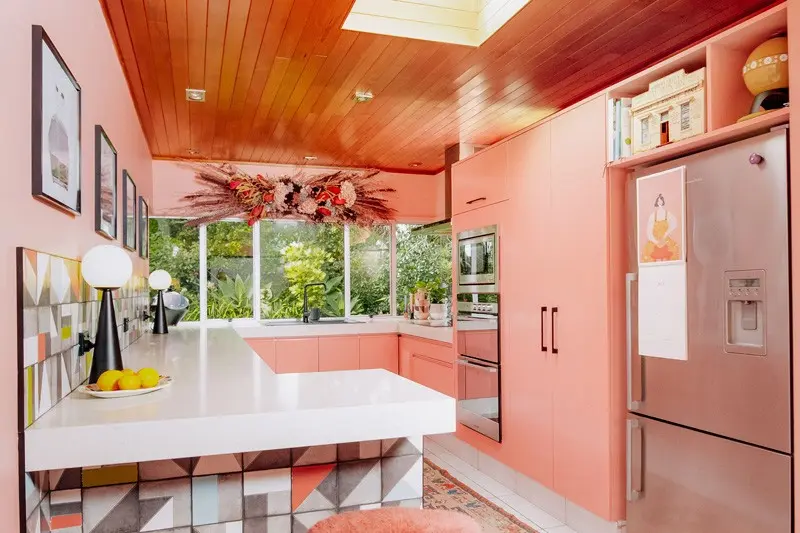
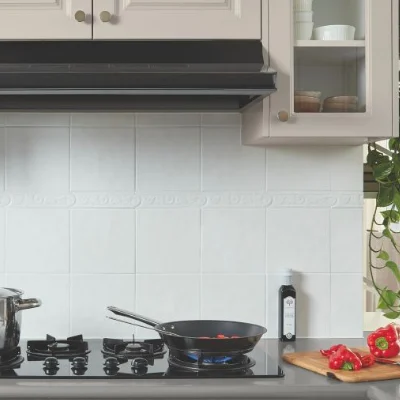
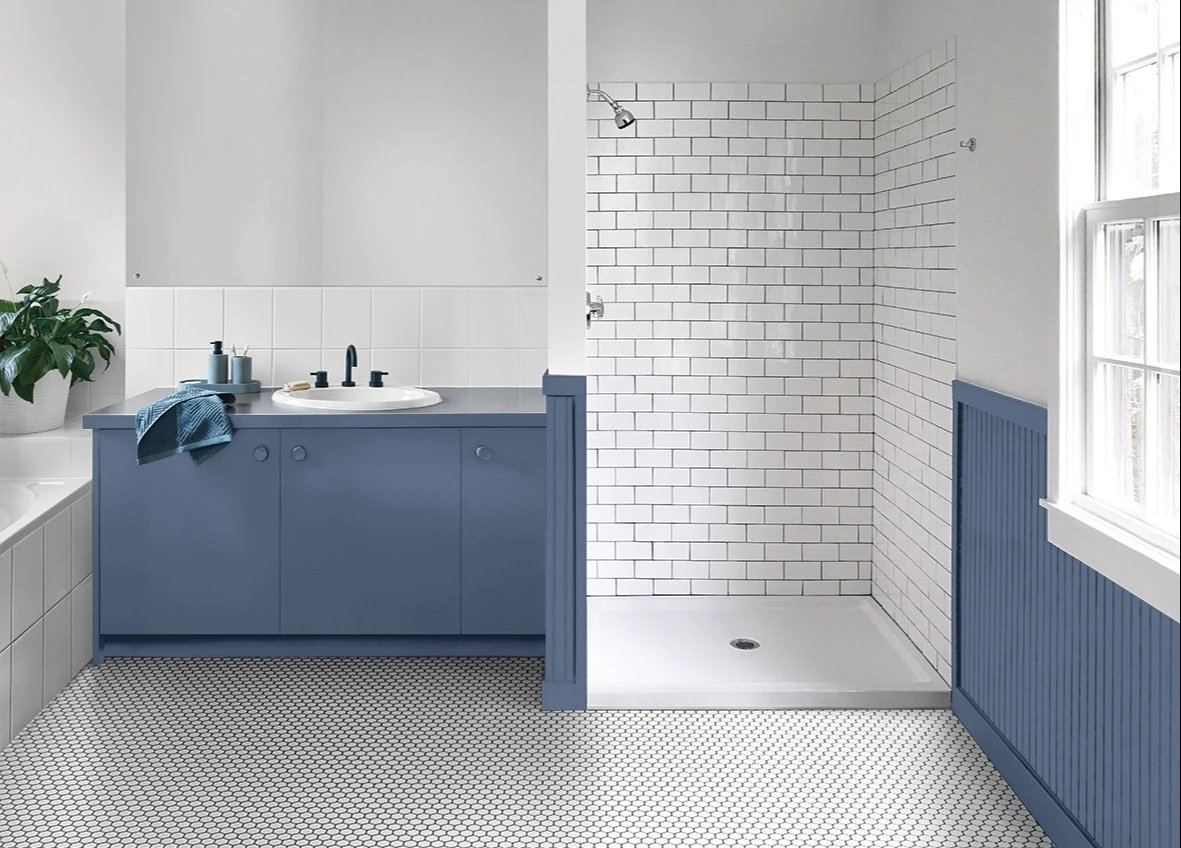

Our revolutionary, water-based interior range is perfect for painting surfaces in the kitchen, bathroom and laundry. With the Dulux Renovation Range, transforming your spaces has never been easier.
The Dulux Renovation Range range is available in hardware stores and specialty paint stores New Zealand wide. Use the store locator to find your a Renovation Range stockist near you.
Our friendly Customer Service team can help you with exactly what you need. Call 0800 800 424 and speak to one of our team members or submit an enquiry via our online form.
Available 7 days a week, start a chat with our team to discuss everything you need to gain colour confidence.
Fill out our enquiry form and our expert Customer Service team will get back to you about your request.
Disclaimer
Colours displayed should be used as a guide for your colour selection. To ensure best accuracy, test your colour choice at home by ordering Dulux Sample Pots and A4 Colour Swatches.
