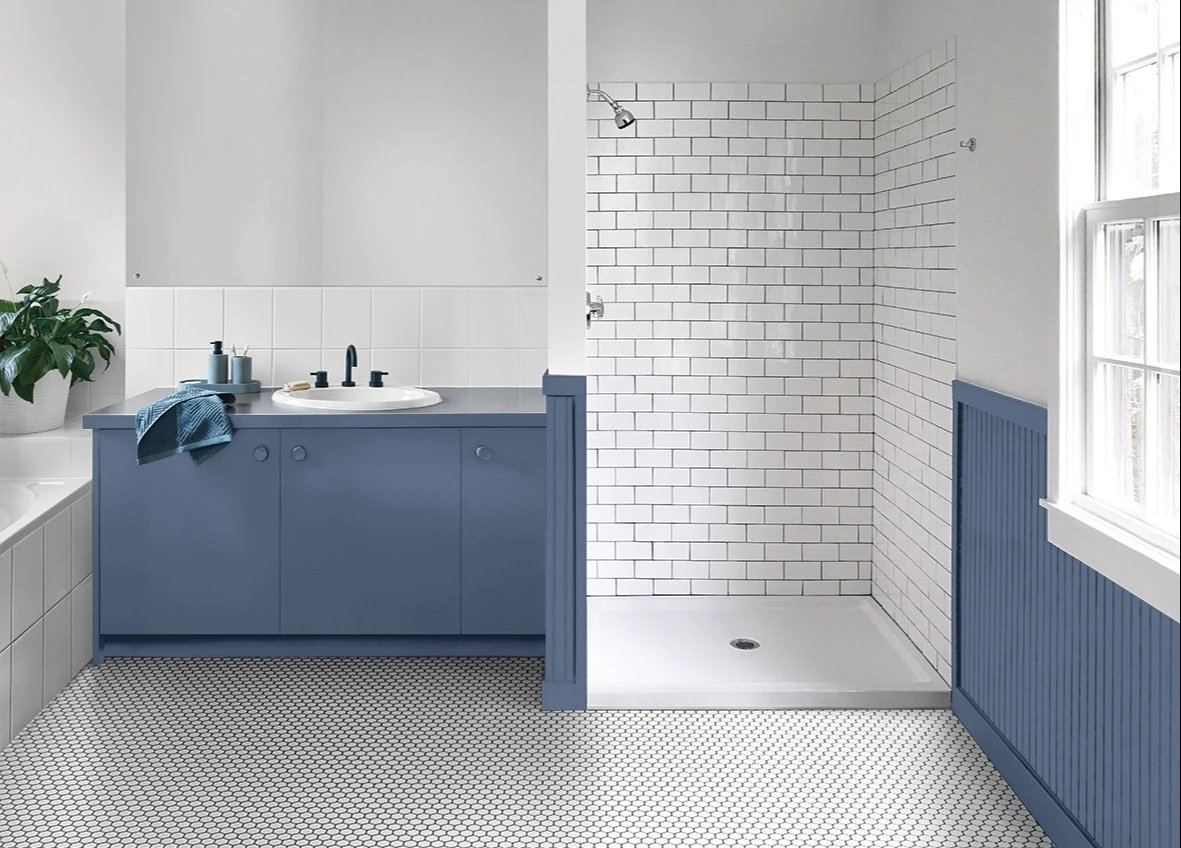
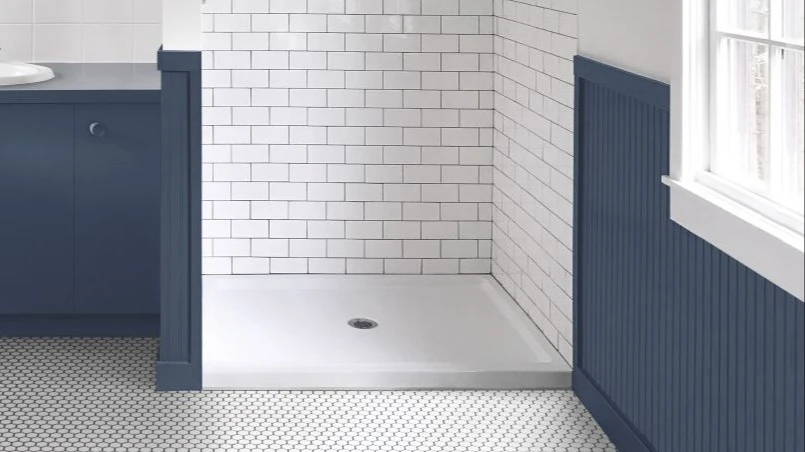
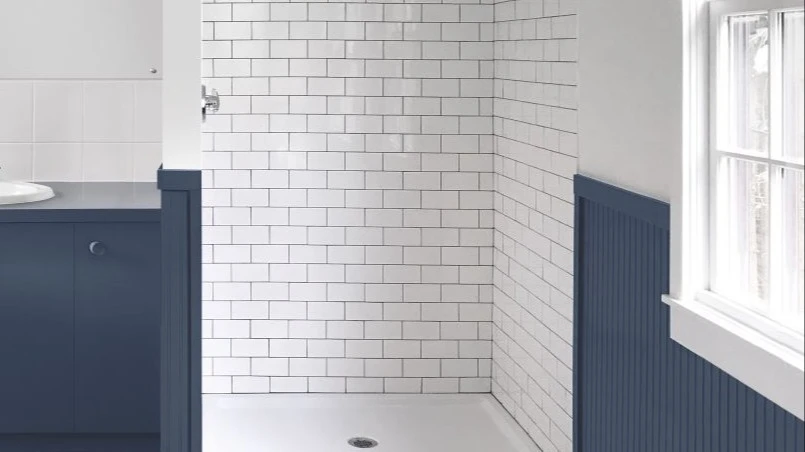
Give your shower base a fresh new look with the Dulux Renovation Range
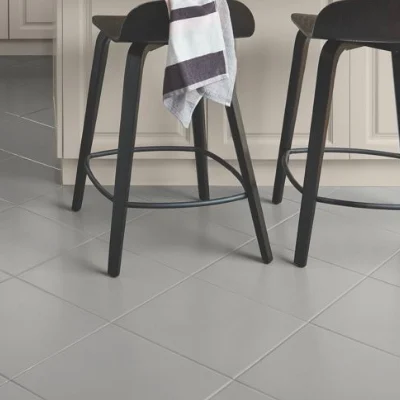
Is your shower base in need of a refresh? Suitable for a range of purposes, Dulux Renovation Range Floors can be used to paint shower bases and leaves a professional, non-slip finish.
Highly durable and chip-resistant, Dulux Renovation Range Floors can be tinted to thousands of Dulux colours and is available in both satin and gloss finishes.
How to get the perfect look
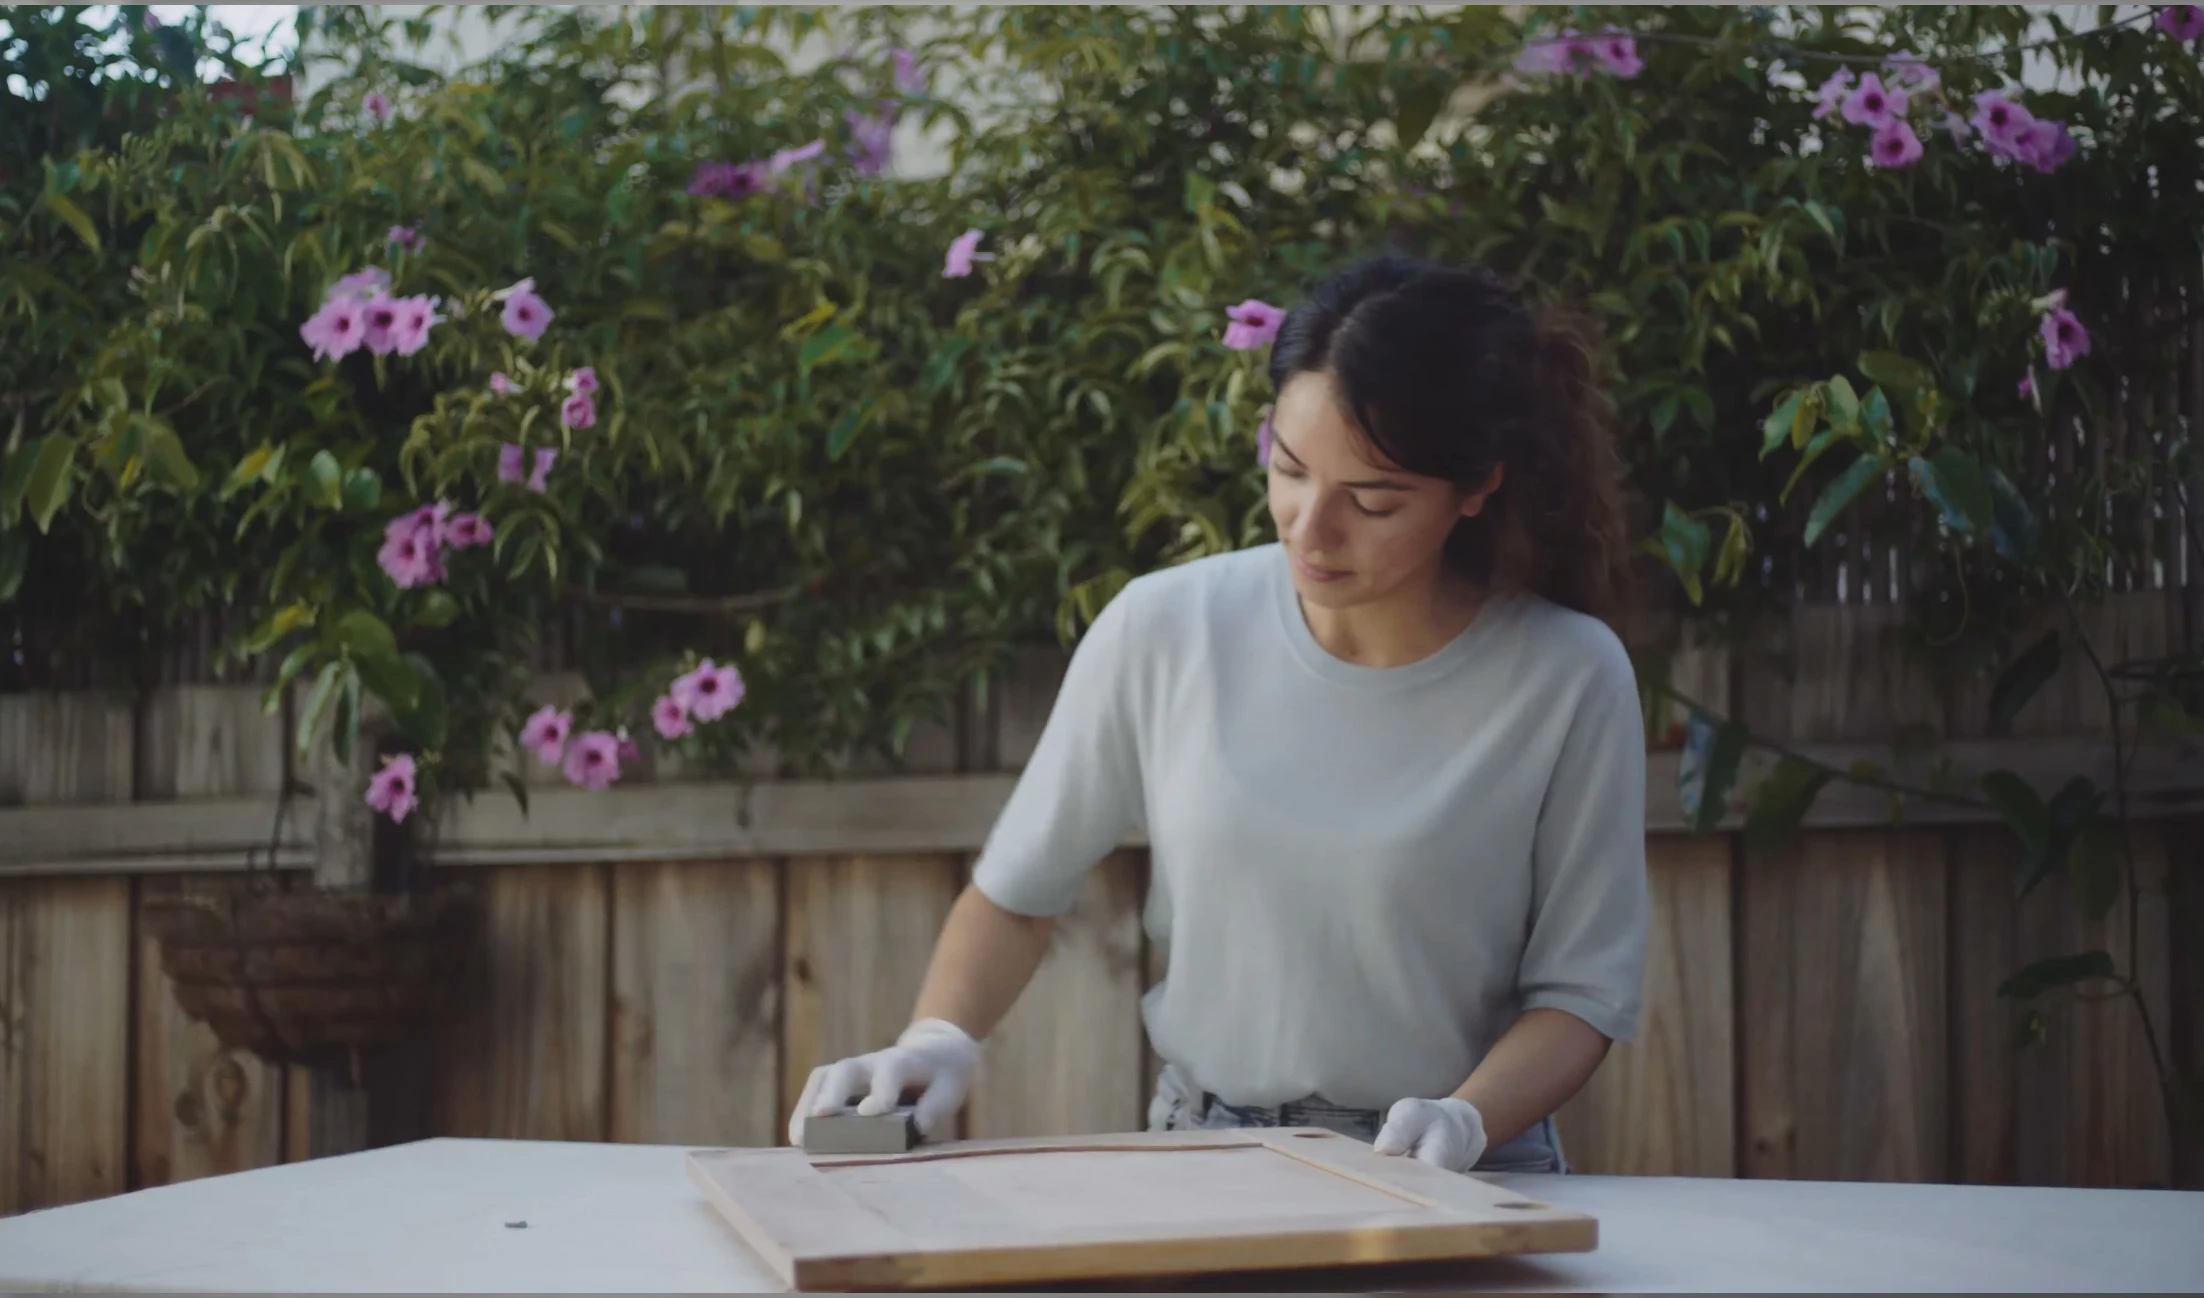
Prepare
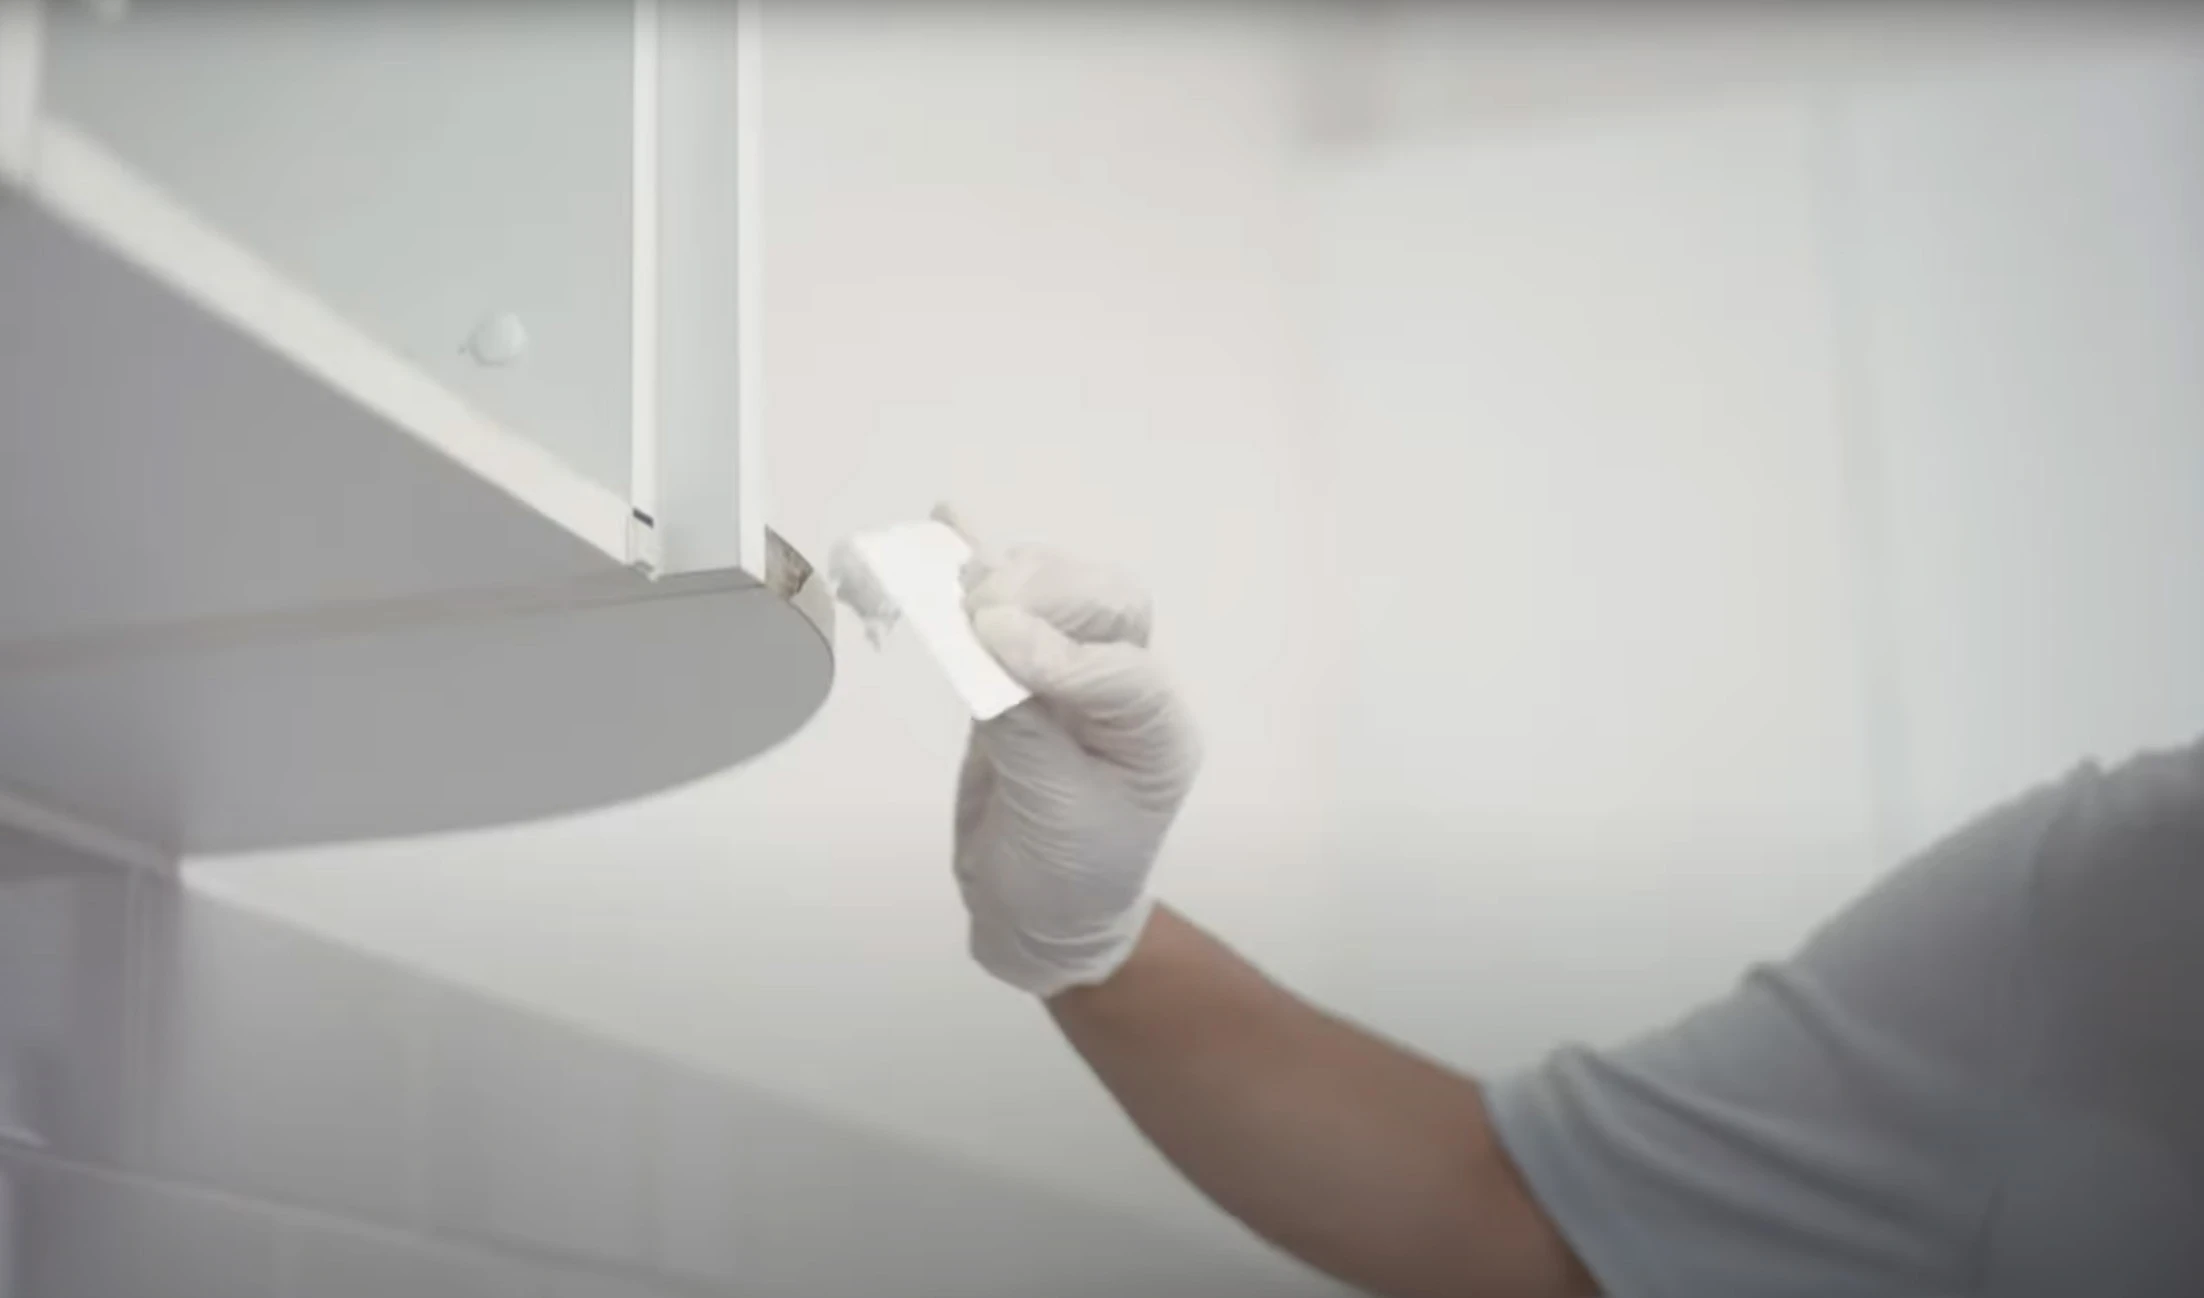
Clean surfaces to avoid problems
You must remove all grease and dirt. Otherwise, the paint will peel or flake off.

Clean the area
Scrub the area with Selleys® Sugar Soap, and then rinse with clean water at least twice.
Use a plastic scouring pad on extremely dirty surfaces, and avoid using abrasive cleaning detergents.


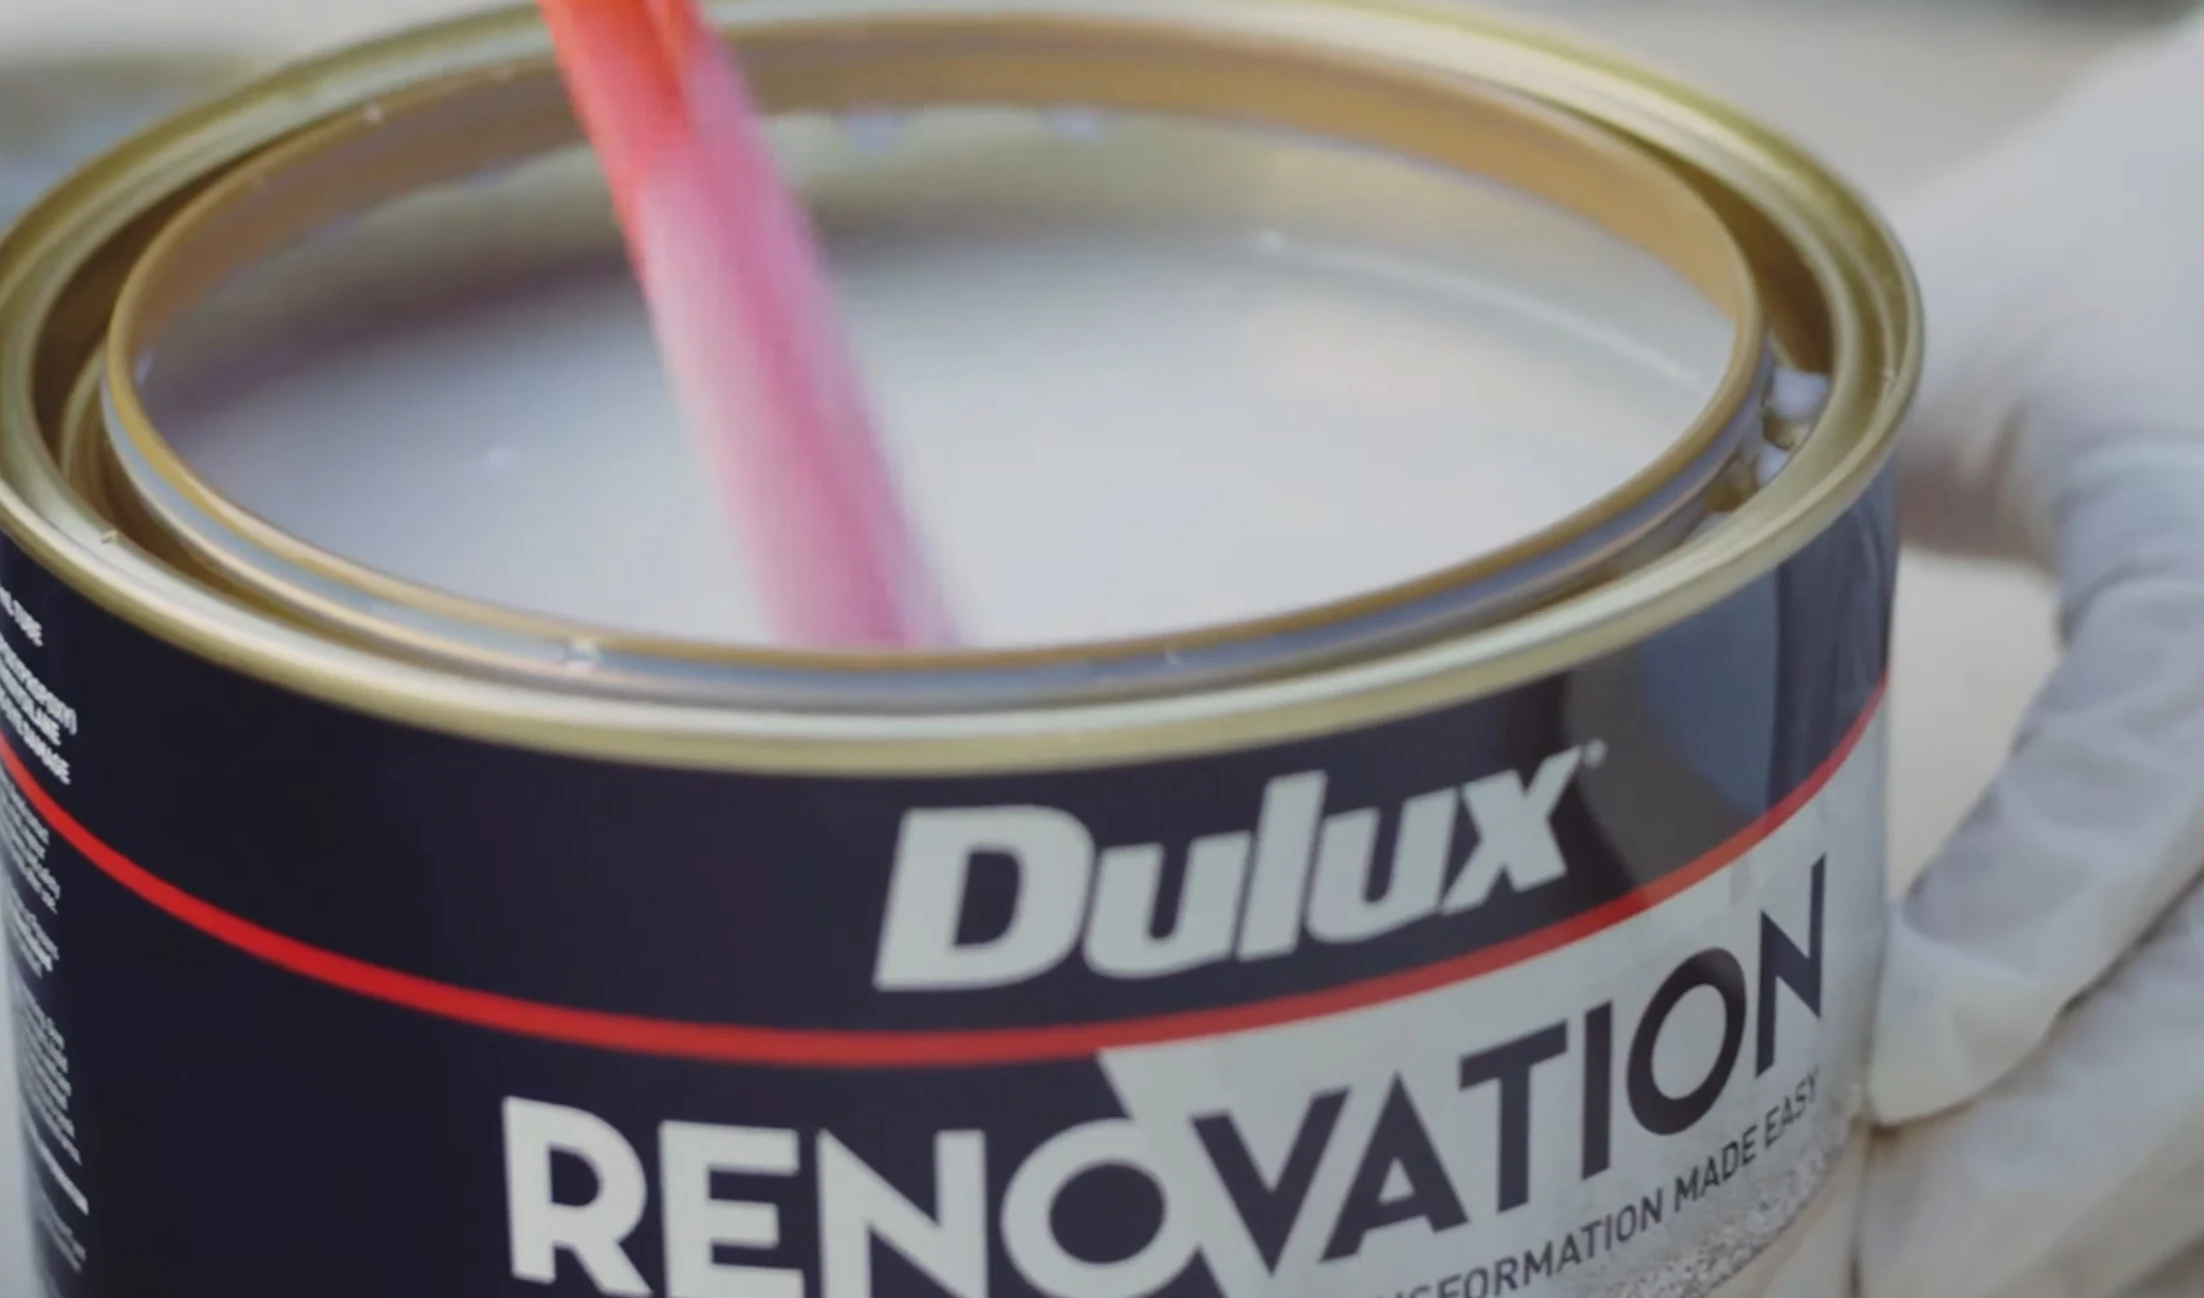
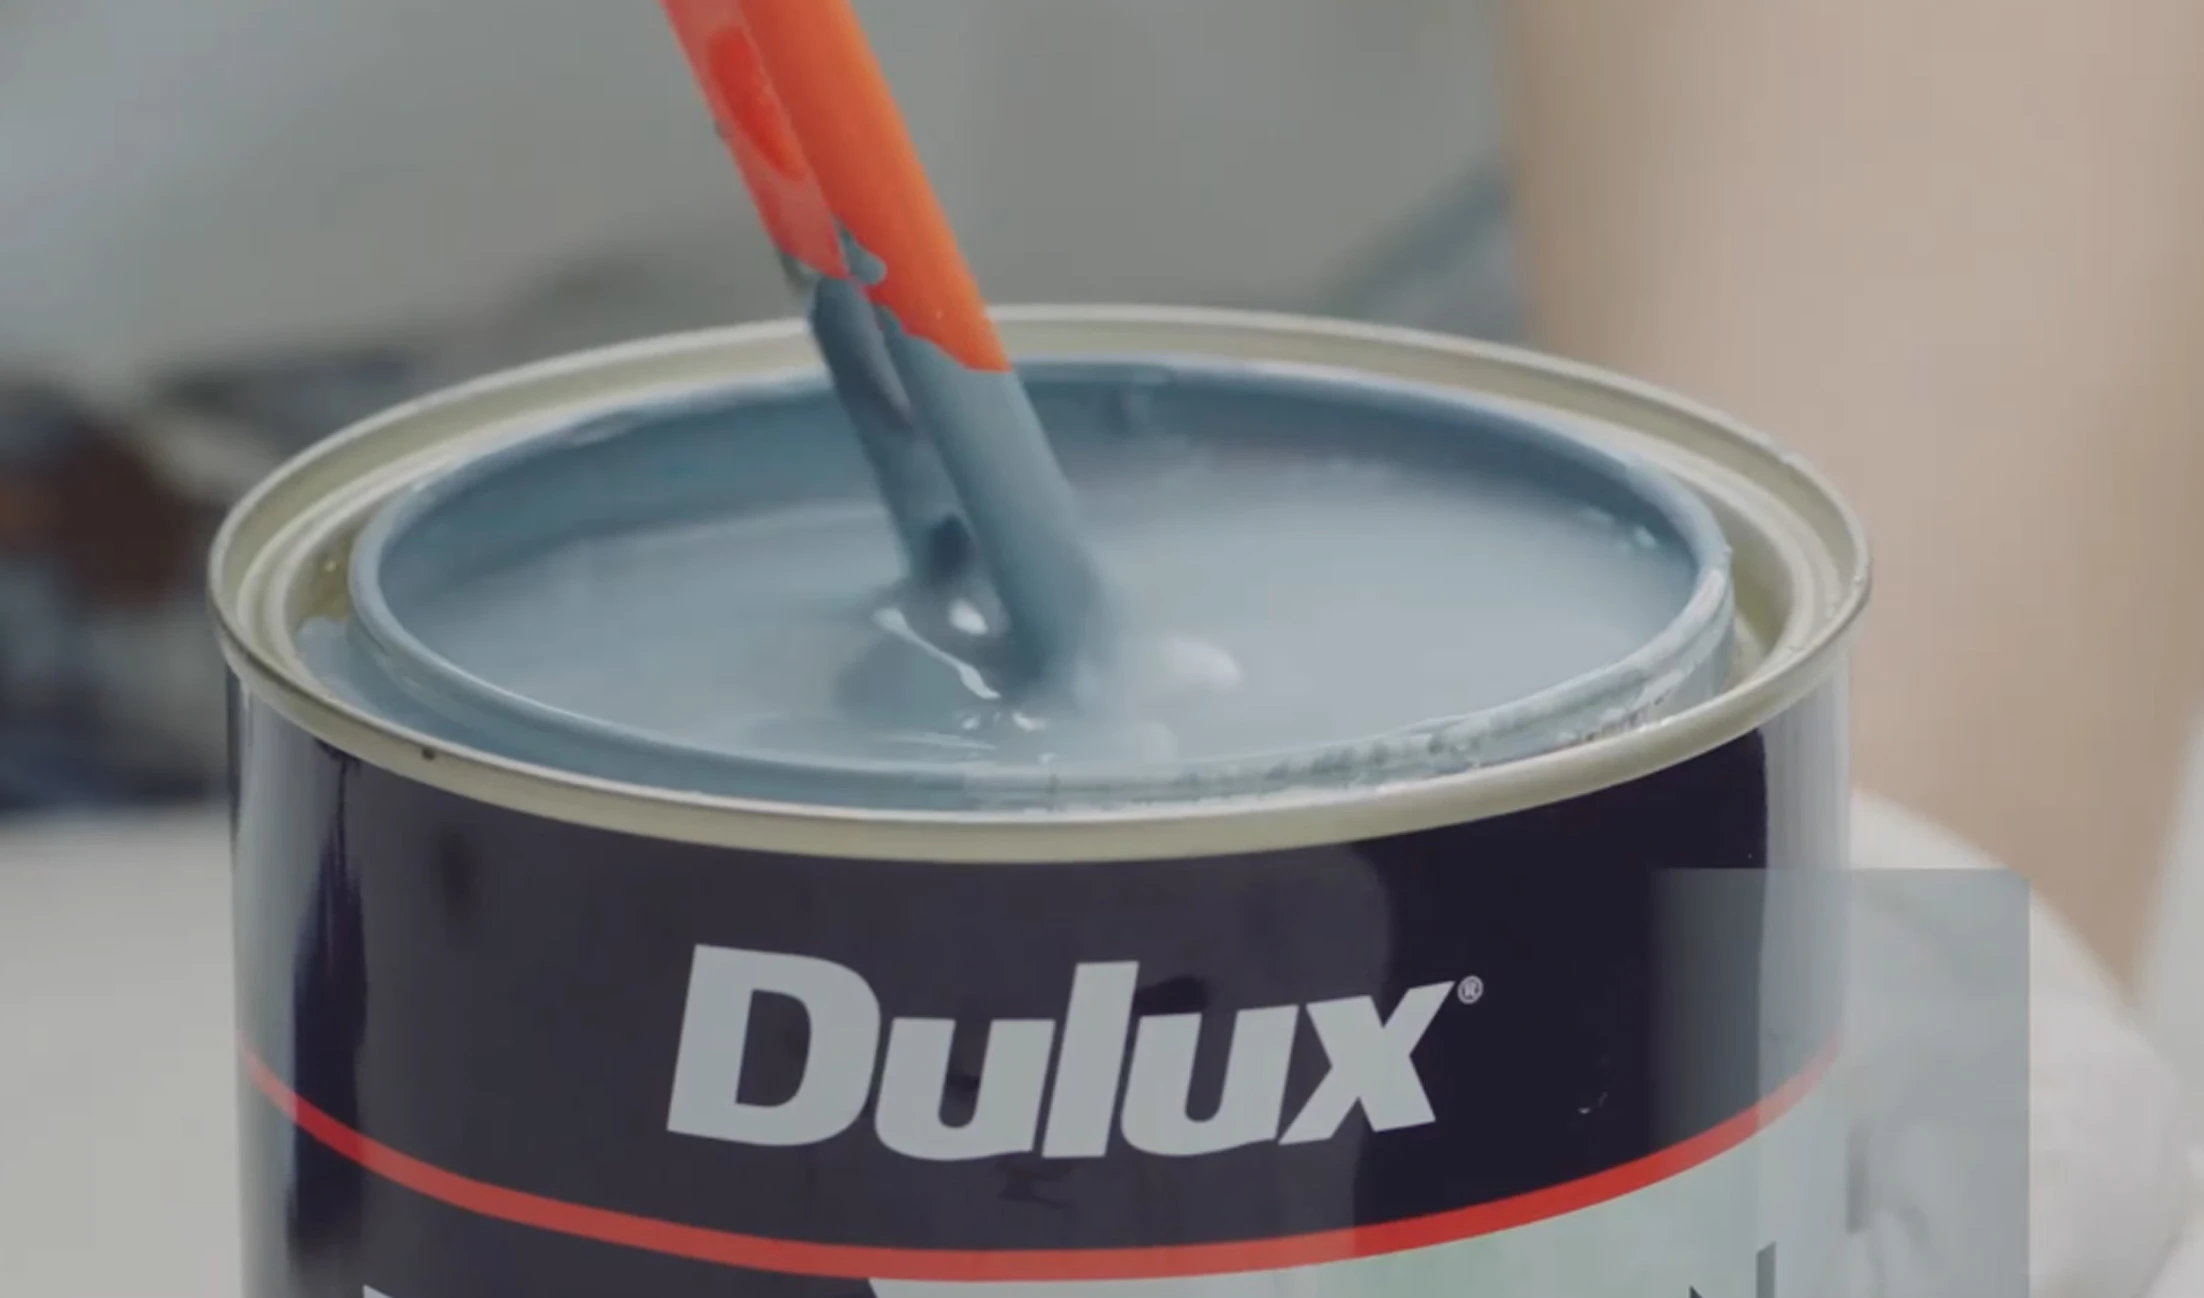
Mix
Get the best results
For the best results, make sure to thoroughly mix the additive into the paint before beginning the application process.
Once mixed, the primer is suitable for use for up to 3 days and the topcoat for 10 days.

Add the additive
Under the blue lid of the primer paint can, you will find an additive packet.
Pour the contents of the packet into the paint.
Apply
Carefully read the instructions
For full instructions, refer to the back of the paint cans.
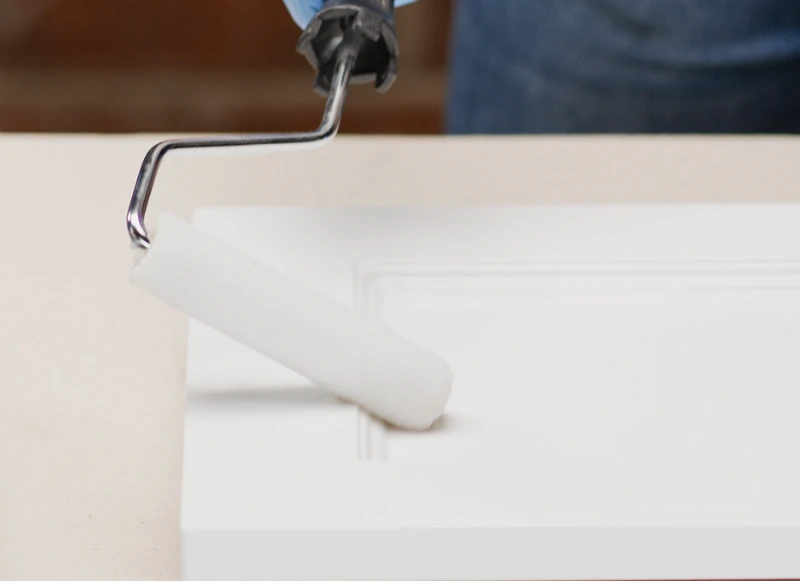
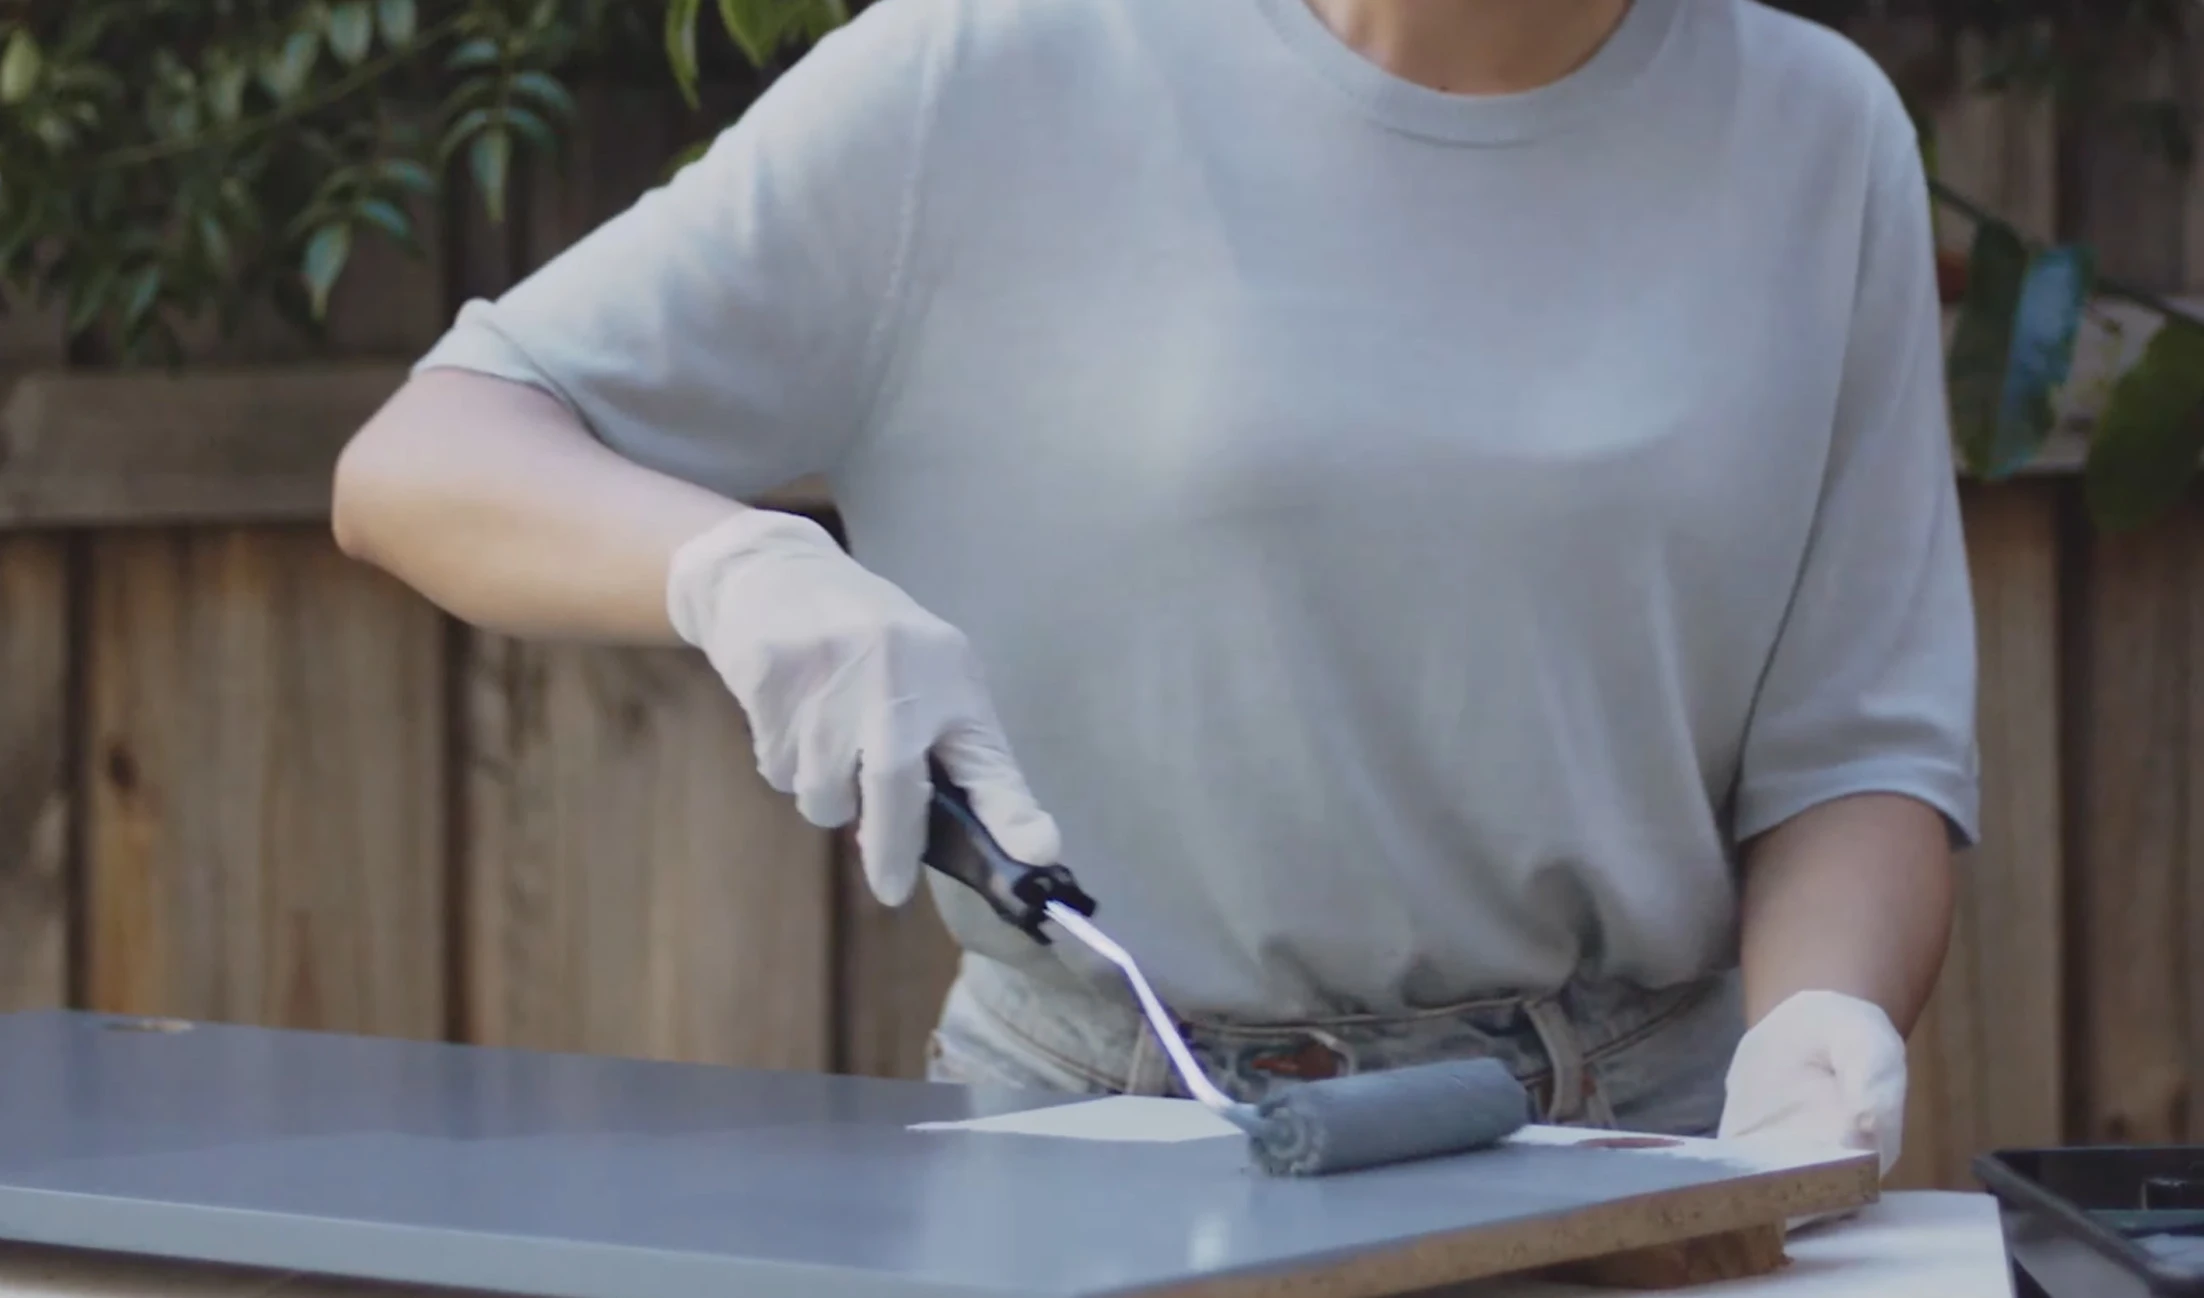
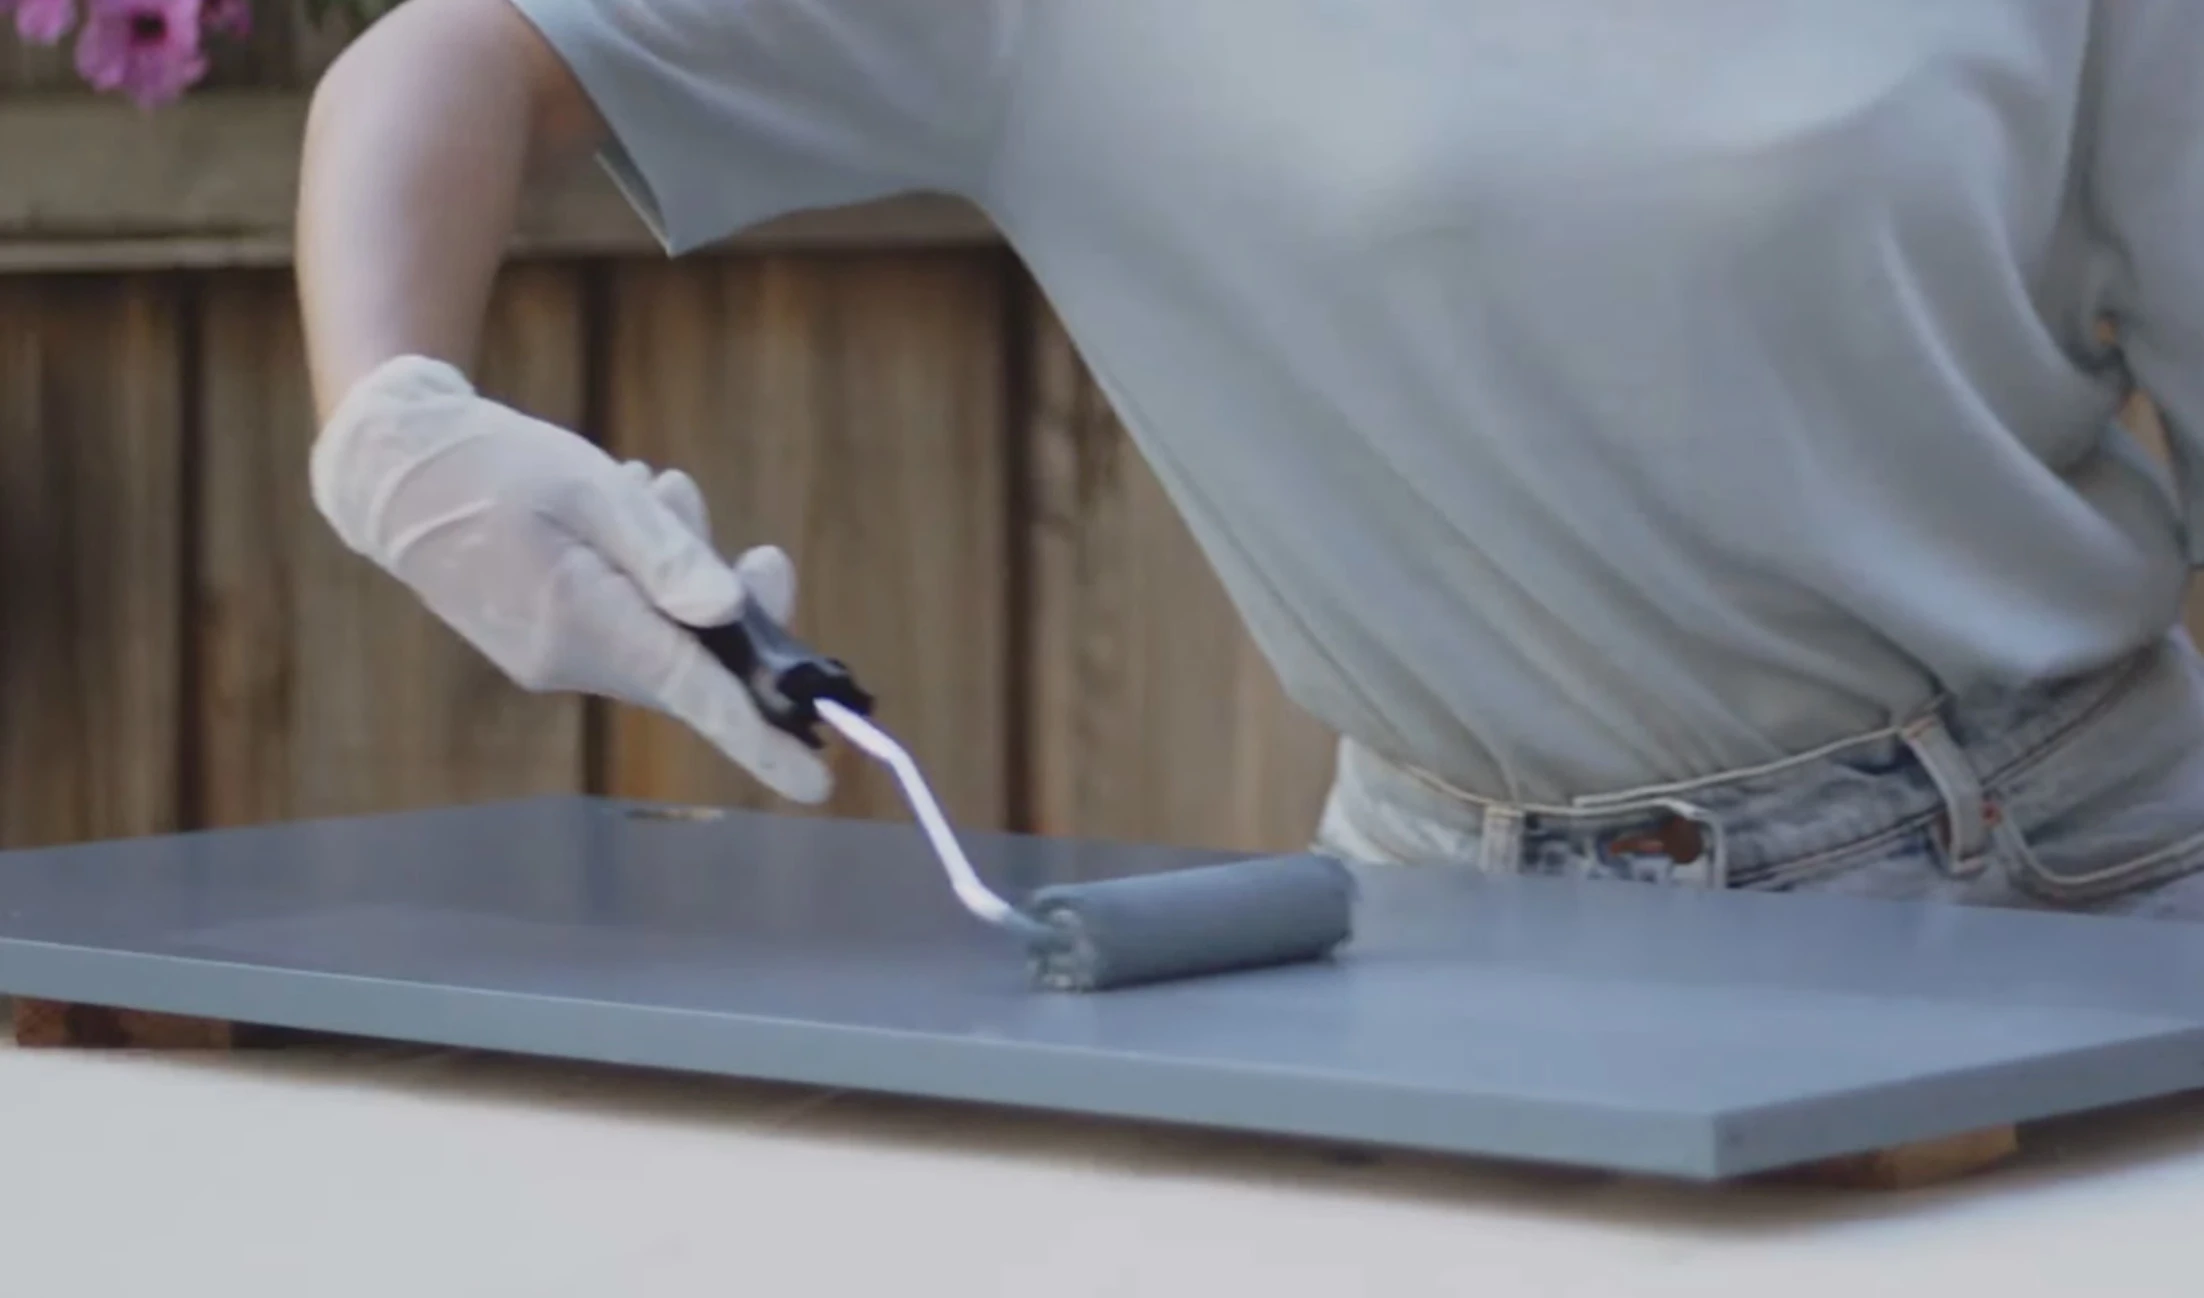
Cut in
Starting with Dulux Renovation Range Primer, cut in using a 38 to 50 mm high-quality angled sash cutter brush.
What you'll need to get started
Colour and paint


Select your preferred finish
Dulux Renovation Range Floors and Clear Coats are available in both satin and gloss finishes.
Tools and accessories
Renovation Range Shower Base FAQs
Renovation Range Floors can be cleaned with general household cleaners, but care must be taken to avoid excessive cleaners, including drain cleaner products.
Any products with a high level of dye or strong bleaching agents need to be immediately cleaned to prevent potential staining.
Grout lines are an area where grease, oil, and dirt can collect, so it's important to clean them well before painting. A means of getting to the grout that is usually below the tile level is imperative.
During the first 2 days after application, it is critical to avoid exposing the coated surface to water, detergent, or foot traffic. This period is necessary for the coating to cure and fully adhere to the surface. Any contact with water, detergent, or foot traffic during this time may compromise the coating's integrity and lead to peeling.
After the first 2 days, the coated surface can be subjected to light use, including running water and foot traffic. Caution should still be exercised to prevent damage to the coating. High-pressure water or dropping objects on the surface should be avoided.
After 7 days, the coating should be fully cured and can be used normally with exposure to water, soap, and foot traffic. Abrasive or heavy cleaning products should still be avoided to maintain the coating's longevity.
NB: Please refer to the response to question 1 for detailed information regarding the tinting policy for Renovation Range Floors. It is crucial to adhere to this policy in order to maintain the optimal performance of the product and ensure a successful return to use.
Renovation Range Floors can withstand normal household use and forms a durable, hard surface that resists scratches, chips, and scuffs.
However, it is important to note that accidental drops or impacts from hard or heavy objects such as nail brushes, handheld shower heads, or hard scourers could potentially cause damage to the coating. To prevent damage, consumers should exercise caution and take appropriate measures, such as using softer-bristled brushes or sponges, avoiding abrasive cleaning agents, and refraining from dropping hard or heavy objects in the shower.
NB: Please refer to the response to question 1 for detailed information regarding the tinting policy for Renovation Range Floors. It is crucial to adhere to this policy in order to maintain the optimal performance of the product and ensure a successful return to use.
Firstly, a bath or basin is not designed to channel water continuously like a shower base. The water can be held in the sink for a longer period with the use of a plug. This is a ponded water situation that may last for hours or days with deposit of soap scum and exposure to various stains and chemicals.
Secondly, applying Renovation Range floors on a bath or basin can be challenging due to the curved surfaces, making it difficult to apply the material evenly.
The Renovation Range Floors product is designed to dry to the touch within 1 hour after application (under normal conditions). However, it is important to note that the actual drying time may vary depending on factors such as temperature, humidity and air flow.
After the product has dried to the touch, it is recommended to wait a minimum of 8 hours before recoating to ensure that the previous coat has had sufficient time to cure and fully adhere to the surface.
NB: Please refer to the response to question 1 for detailed information regarding the tinting policy for Renovation Range Floors. It is crucial to adhere to this policy in order to maintain the optimal performance of the product and ensure a successful return to use.
Yes, it is absolutely necessary to use Renovation Range Primer before applying Renovation Range Floors. The primer ensures optimal adhesion to the surface.
It is essential to clean the surfaces thoroughly before applying Renovation Range Floors. For general surfaces, use Selleys Sugar Soap to remove any oils, dirt, or dust. For bathroom surfaces prone to mould and mildew, use Selleys Rapid Mould Killer to eliminate any existing mould or mildew.
It is important to remove any existing silicone sealant from joints and surfaces using Selleys Silicone Remover. The paint will not adhere to silicone, so it is crucial to remove all traces of it before painting. After the silicone sealant is removed, sand the surfaces on either side of the joint to a dull finish and clean them using Spray 'n' Wipe and a scouring pad. Finally, rinse the surfaces with clean water.
No, it is not recommended to use scourers or metal wire cleaning tools on the coated floors. These tools are aggressive and abrasive and can cause damage to the surface of the coating. It is important to avoid using any abrasive cleaners or tools, including drain cleaner products, as they can scratch the surface of the coating and cause potential damage. It is recommended to use mild cleaners and soft sponges to clean the renovated floors, and to immediately rinse off any spills or stains to prevent potential staining.
Bleach can be used but should be avoided in strong concentrations as it may affect the color and lead to discoloration of the renovated floors or shower base. It is recommended to immediately rinse off any bleach that may come in contact with the surface to prevent potential staining.
Avoid using drain cleaner products as they can be aggressive and abrasive, causing damage to the coating.
Additionally, it is recommended to use general mild household cleaners for regular maintenance and avoid aggressive and abrasive cleaners, including drain cleaner products, and scourers or metal wire cleaning tools.
Renovation Range Floors can be applied to various shower base surfaces, including ceramic and porcelain tiles, cement sheet covered with porcelain or ceramic tiles and grouted, moulded acrylic sheet, enamelled steel, and fibreglass.
However, before applying the Renovation Range Floors, it is necessary to use Renovation Range Primer for better adhesion and durability of the coating.
Explore Renovation Range projects

Our revolutionary, water-based interior range is perfect for painting surfaces in the kitchen, bathroom and laundry. With the Dulux Renovation Range, transforming your spaces has never been easier.
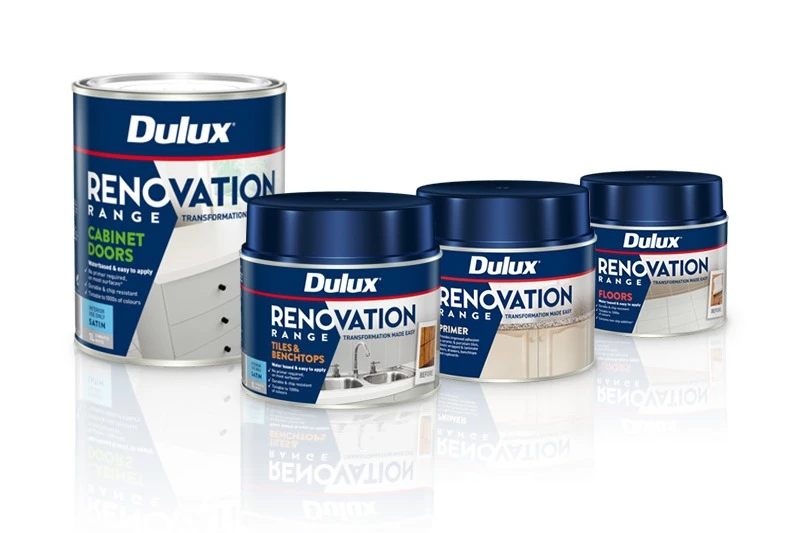
The Dulux Renovation Range range is available in hardware stores and specialty paint stores New Zealand wide. Use the store locator to find your a Renovation Range stockist near you.
Disclaimer
Colours displayed should be used as a guide for your colour selection. To ensure best accuracy, test your colour choice at home by ordering Dulux Sample Pots and A4 Colour Swatches.
