Take on any project
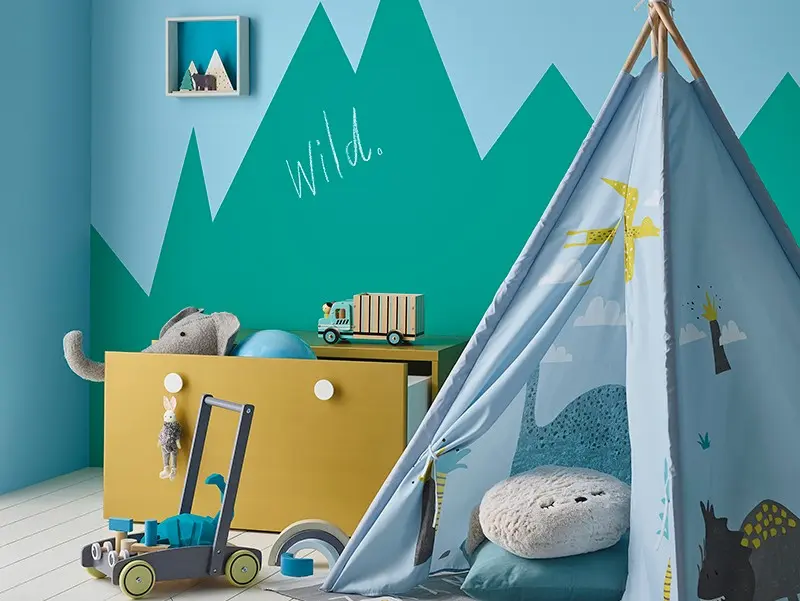
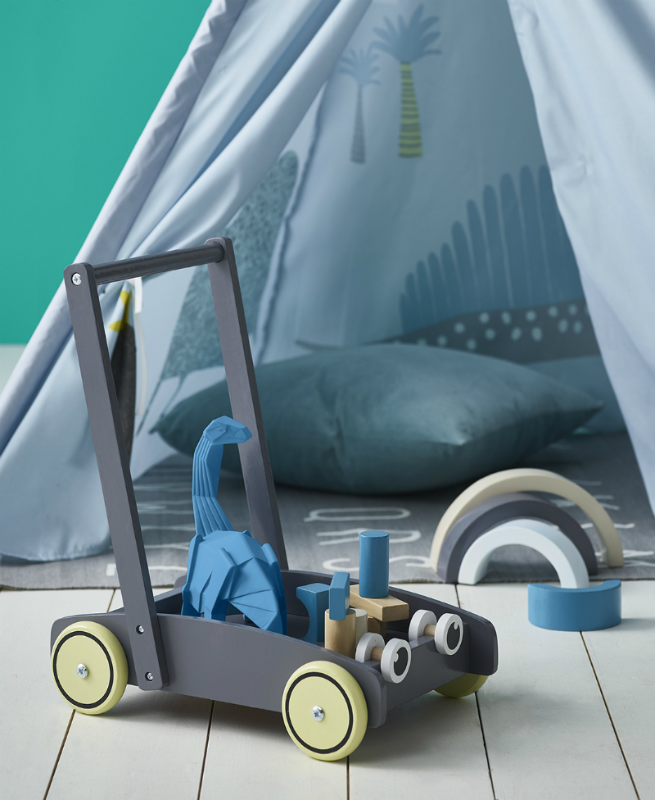
Play Room Project
Walls can set boundaries or they can free the imagination. By creating an interactive mountain with Dulux Design Effects Coloured Chalkboard, your kids will be primed for peak adventure every playtime. Colours features: Dulux Sky Bus and Design Effects Coloured Chalkboard in Teal Trip.
Your Shopping List
Dulux Wash&Wear® Low Sheen in your chosen colour
Dulux Design Effects in your chosen colour and effect
Dulux Duramax® in your chosen colours and effects
Undercoat/stain blocker (if required)
High quality synthetic brush for cutting in
Medium nap (10-18mm) synthetic roller for walls
Short nap (5-10mm) synthetic roller for toy box
Paint pot – for cutting in
Roller tray
Roller extension pole
Drop sheets
Painter’s masking tape
Cloth
Download our preparation guide to find out what you should consider before starting your project.
Walls
Follow the preparation steps.
Start by cutting in around the edges of the wall with a brush – these are areas the roller cannot easily reach.
Load the roller in the tray with a reasonable amount of paint.
Start rolling the wall in an ‘M’ pattern. Start closest to the natural light source. Continue over the same section until the wall is evenly covered.
Using an unloaded roller begin in the top left corner of your wall and gently let the roller roll down to the baseboards in a straight line with no pressure. A lightness of touch will prevent new roller marks from forming. Repeat this action only this time, slightly overlap your last movement so your roller rubs away the line created by the previous stroke. Continue this across the area you have painted. This is called laying off.
Reload your roller and repeat until the wall is complete.
Allow the first coat to dry and repeat the total process again with a second coat.
Allow paint to dry before painting the mountains.
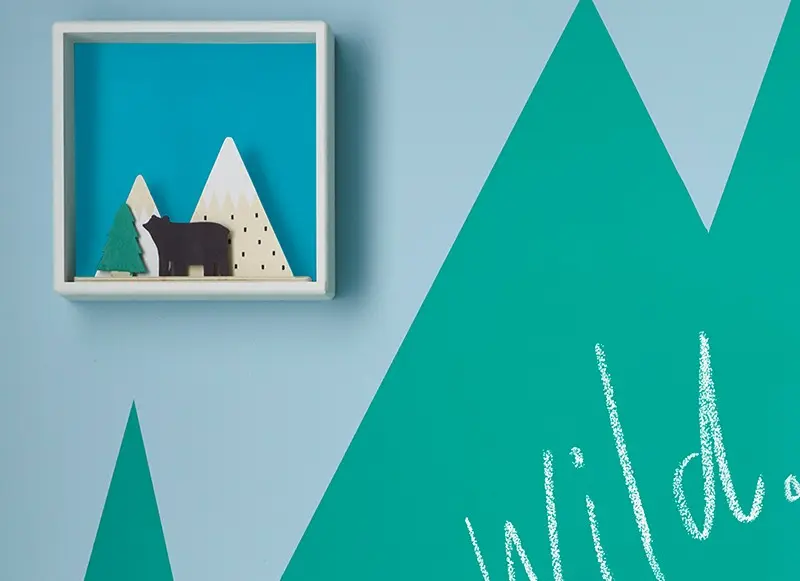
Coloured Chalkboard Mountain Feature
To create a mountain feature with Dulux Design Effects Coloured Chalkboard, start by taping a mountain shape on your wall.
Use a good quality brush to cut in the paint around the edges, then finish with a short nap roller. Apply paint colour as desired.
When first coat is dry (about 2 hours), apply a second coat. Allow to dry.
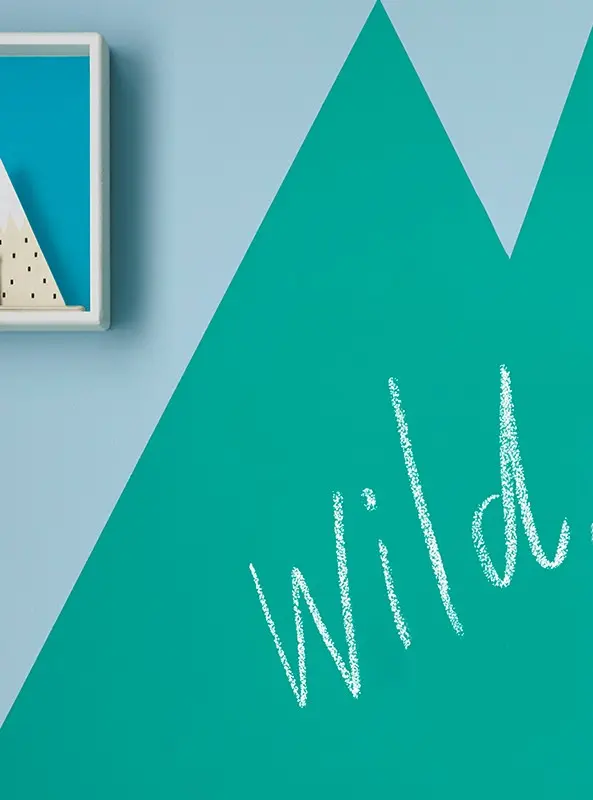
Allow the final coat to dry and cure for at least 7 days before conditioning the chalkboard. To condition the board, rub the entire surface of the chalkboard vertically with the side of a piece of chalk, ensuring the chalkboard is completely covered. Then rub the entire surface horizontally with the side of a piece of chalk, again covering the chalkboard completely. Wipe with a soft cloth or chalkboard duster and blow off any excess chalk dust.
The chalkboard is now ready to use. Now let your kids’ imaginations run wild!
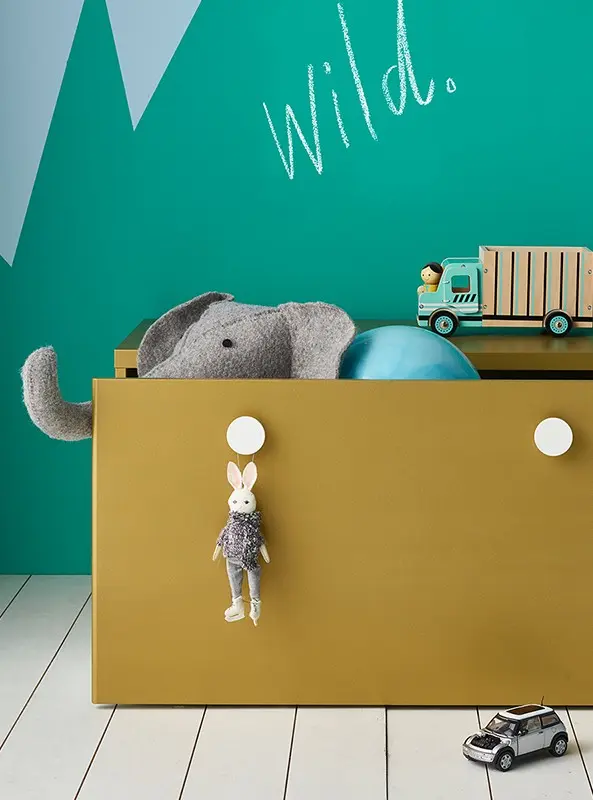
Toy box
Follow the preparation steps.
Start by cutting in around the edges of the furniture piece with a brush – these are areas the roller cannot easily reach.
Apply the first coat with the roller.
Allow drying time as specified on the label.
For an even one dimensional finish apply a second coat with the roller and lay off lightly.
For a flat finish your project is complete. For a more textured finish, work while the paint is still wet. Use a wide brush, dry roller or muslin and drag the paint in a random, overlapping pattern. For a brushed finish, lay off lightly with a brush.
Now, stand back and enjoy your new creation.
More Winter Project Guides - playroom
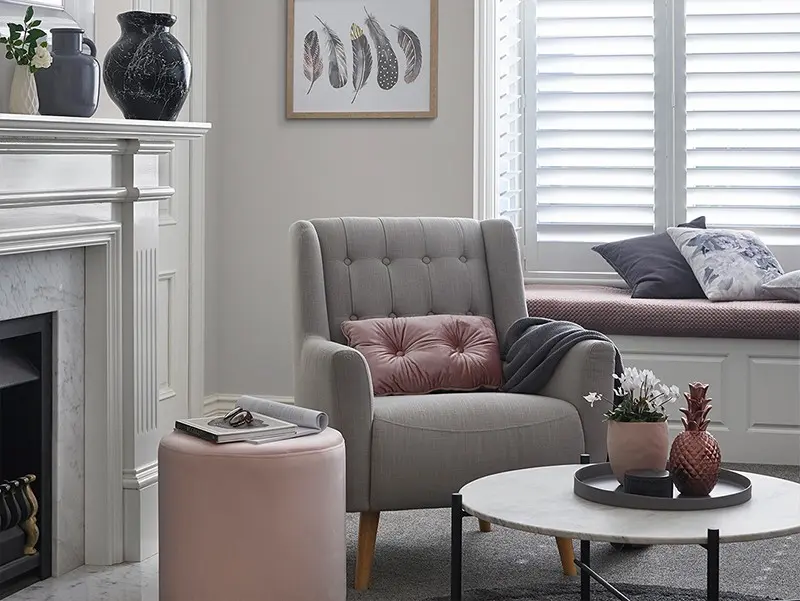
With our premium finishes and on-trend effects you can turn an unused corner of a room into a cosy reading retreat.
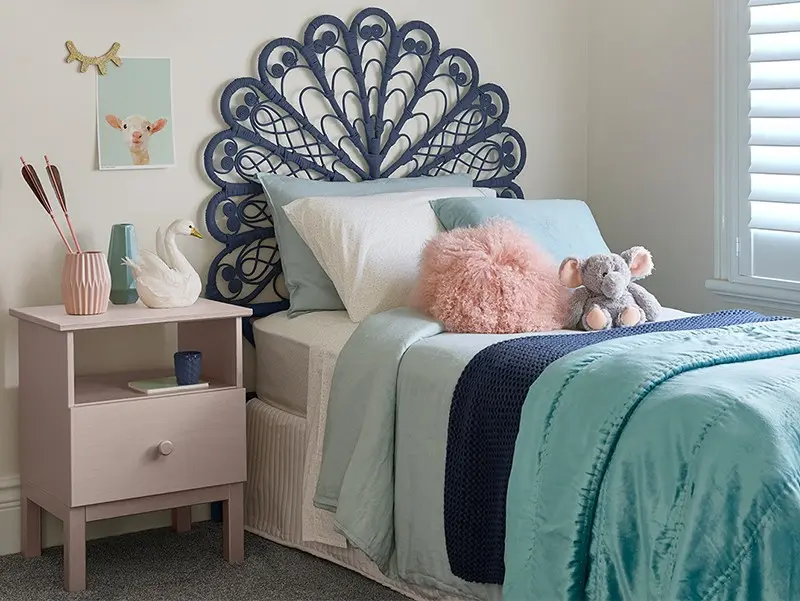
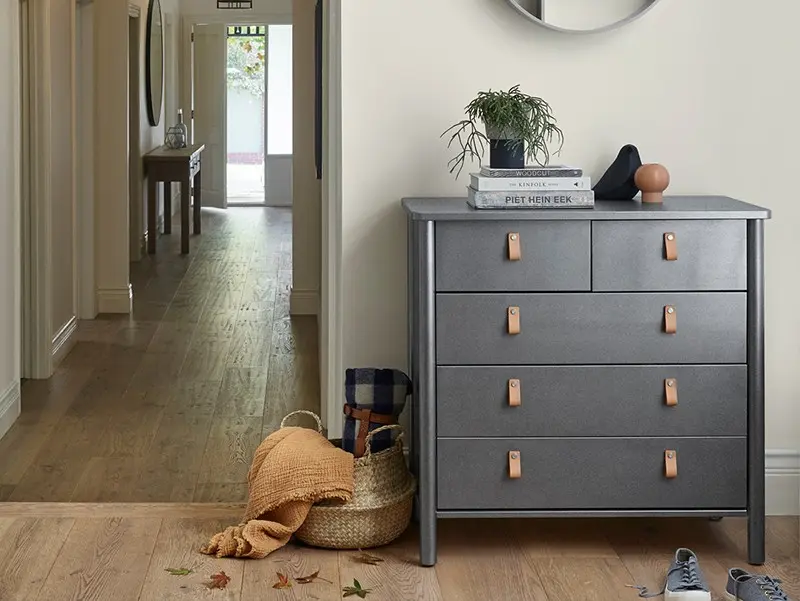
Get your tween involved in a weekend bedroom project and let their individuality shine.

