How to repaint a picket fence
Revive your home exterior and improve your street appeal by giving your picket fence a fresh coat of paint. With our helpful video and step-by-step guide, we'll share how you can repaint your front fence in just one day.
Follow 3 easy steps to get you started.
How To Guides
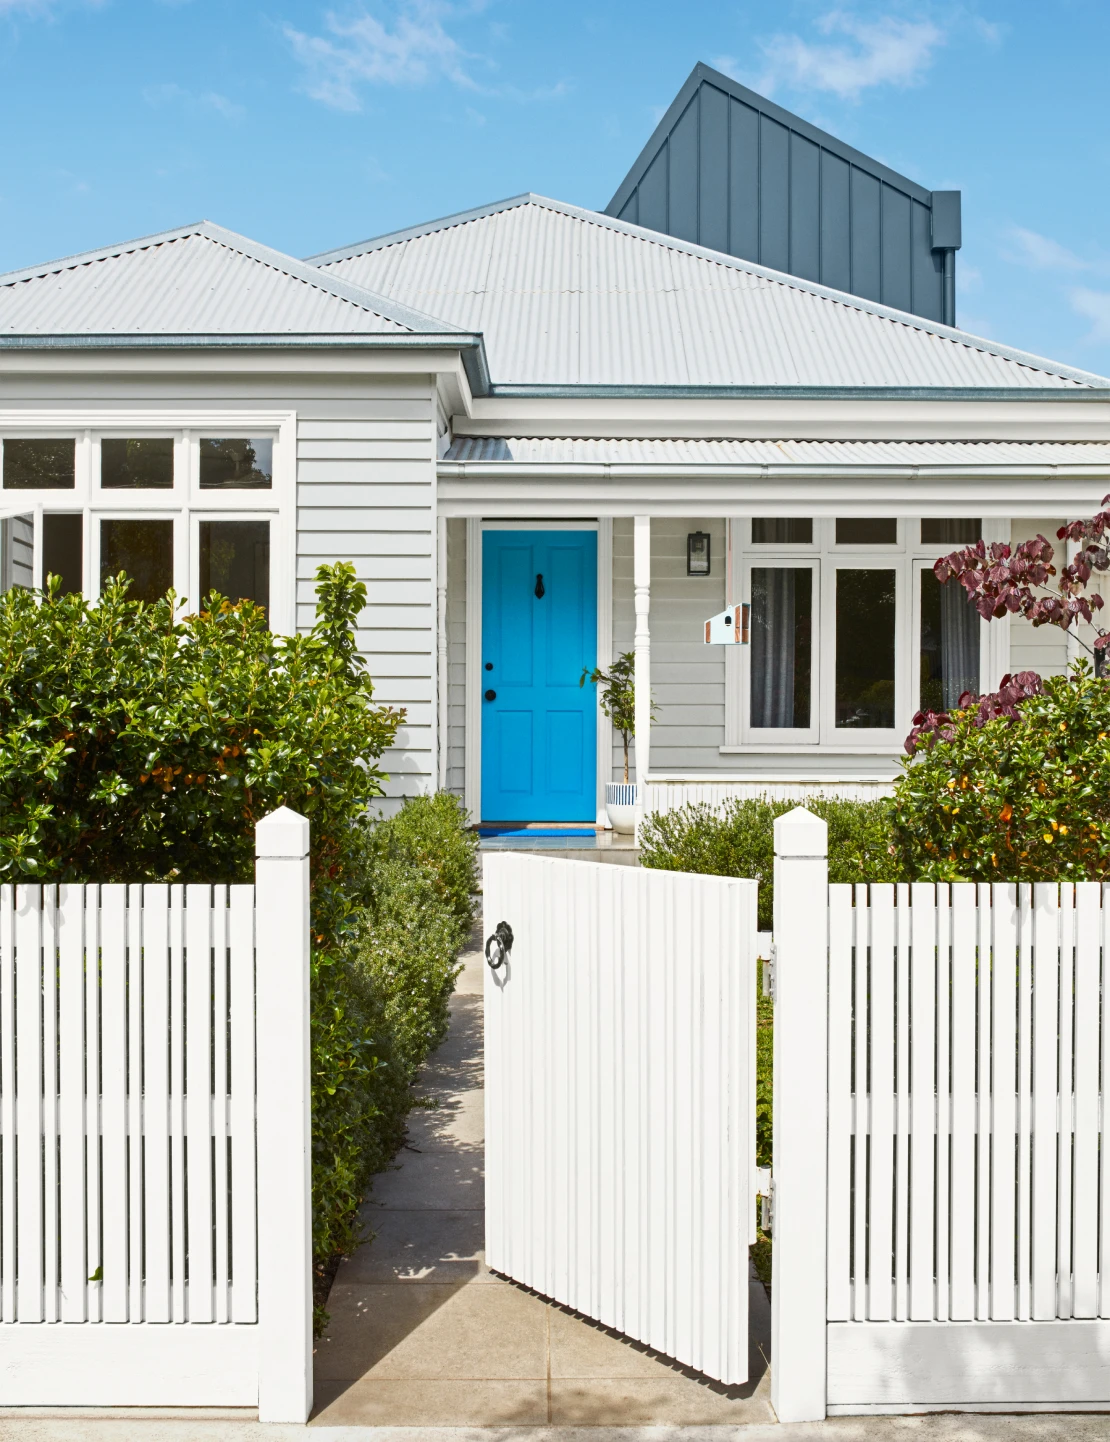
Gain curb appeal with a fence refresh
How to get the perfect look
Step-by-step
Weathershield® MaxiFlex® Stretch Technology
Dulux guarantees that Dulux Weathershield® will not blister, flake or peel for as long as you live in your home*. It contains MaxiFlex® Stretch Technology that gives your picket fence a tough, flexible finish for long life protection from all weather conditions.
Choose your colour
To start, find inspiration and select from the Dulux colour range. Explore our inspiration gallery and get a sample pot to help you choose the perfect colour.
Prepare the area
To avoid any accidental spills, prepare the area by moving any cars, bikes or plants that are too close to the fence. Brush away any dirt and clean the fence using Selleys Original Sugar Soap and lay down your drop sheet to protect from drips.
Test the paintwork
Test if the paintwork is in good condition by cutting a small ‘X’ through the existing paint with a sharp blade and press cellulose tape firmly across the cut, then rip off the tape. If the paint comes off, it is unsound and should be removed.
Sand the surface
If the surface is sound, give the area a light sand paying attention to any small areas where the paint has peeled or cracked, and fill any defects. After sanding, you can start painting with Dulux Weathershield® immediately, as it is self-priming on most surfaces.
Apply your first coat
Open and stir your paint thoroughly. Start by painting the board that runs along the bottom of your fence, then paint the valleys where your roller can’t reach. Once you’ve painted all three sides of the valley use a roller in a vertical up-and-down motion, to paint the vertical panels.
Apply your second coat
After you’ve finished painting the first coat, allow at least two hours before applying a second coat. Once dry, follow the same process as you did for the first coat. If you're painting bare timber, you may need to apply a third coat to achieve a consistent, even coverage.
Here's what you'll need to get started:
Colour & Paint
Select your preferred finish
Dulux Weathershield® is available in matt, gloss, semi-gloss and low gloss finishes.
Tools & Accessories
Flat paddle stirrer
Roller tray
Medium grit sandpaper
Damp cloth
Bucket
Picket fence colour inspiration
Explore a range of popular fence colours to help guide your selection.
Door
Lake Taylor
Lake Taylor is a bold statement blue that makes it perfect as a front door colour. It pairs beautifully with greys such as Manorburn Double and crisp whites such as Ōkārito.
Our friendly Customer Service team can help you with exactly what you need. Call 0800 800 424 and speak to one of our team members or submit an enquiry via our online form.
Available 7 days a week, start a chat with our team to discuss everything you need to gain colour confidence.
Fill out our enquiry form and our expert Customer Service team will get back to you about your request.
Disclaimer
*This guarantee does not cover paint failure caused by any breakdown of coatings applied previously, where Dulux Weathershield® is applied over coatings not specified by Dulux, or in the event of substrate failure or faulty application. To claim, you must be living in the house you have painted with Dulux Weathershield®. Refer to product label for full conditions. This guarantee is in addition to and does not detract from any rights and remedies you may have under any applicable consumer law.